Adding AI-Generated Text to Your iOS App with SwiftUI and GPT
This tutorial shows how to build a GPT client for iOS using SwiftUI. It covers sending a request to the OpenAI GPT API and decoding the JSON response to display the generated text.
Note: the tutorial focuses on the logic for sending and receiving requests to and from the OpenAI GPT API; it does not cover all UI details involved in building the app.
For the full code, including the UI implementation, see my GitHub repo containing working samples for creating iOS and Android apps.
What is GPT?
GPT (Generative Pre-trained Transformer) is a machine learning model that generates natural language text. It is a pre-trained language model that can be fine-tuned for specific tasks, such as generating text in response to a prompt.
What will we build?
We will build an app that takes user input from a TextField, sends it to the GPT API, receives the response, and decodes the JSON to display the answer as animated text. The sendRequest function handles communication with the OpenAI GPT API: it encodes the user’s question as a JSON payload and sends a POST request. If the API responds with status code 200, the function extracts the generated text from the JSON response and displays it as animated text using SwiftUI’s Text view. If the API responds with an error, the function displays an error message instead.
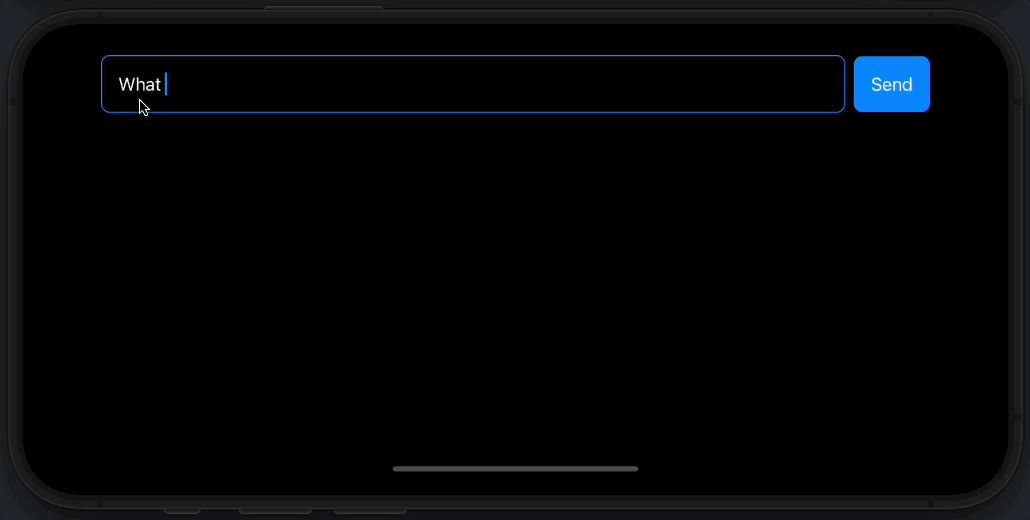
Here is an animated screenshot of the final app:
Sending a Request to the GPT API
Below is the code necessary to send a request to the GPT API. A step-by-step explanation follows.
func sendRequest(question: String) async throws {
 guard!question.isEmpty else { return }
 let requestDto = RequestDto(prompt: question, max_tokens: 100, model: "text-davinci-003")
 guard let payload = try? JSONEncoder().encode(requestDto) else { return }

 let url = URL(string: "https://api.openai.com/v1/completions")!

 var request = URLRequest(url: url)
 request.httpMethod = "POST"
 request.httpBody = payload
 request.setValue("Bearer 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", forHTTPHeaderField: "Authorization")
 request.setValue("application/json", forHTTPHeaderField: "Content-Type")

 isLoading = true
 let (data, response) = try await URLSession.shared.data(for: request)

 guard (response as? HTTPURLResponse)?.statusCode == 200 else{
  DispatchQueue.main.async {
   self.answer = "Unable to receive answer."
   self.isLoading = false
  }
  return
 }

 let json = try? JSONSerialization.jsonObject(with: data, options: [])
 if let json = json as? [String: Any],
  let choices = json["choices"] as? [[String: Any]],
  let firstChoice = choices.first,
  let text = firstChoice["text"] as? String {
  DispatchQueue.main.async {
   self.answer = text.replacingOccurrences(of: "^\\s*", with: "", options:.regularExpression)
   self.isLoading = false
  }
 }
}
The source code above lets the app communicate with the OpenAI GPT API. Below is a brief explanation of the main parts of the code:
- The
asynckeyword indicates the function is asynchronous, so it runs in the background and does not block the main thread. - A
RequestDtoobject is created with the user’s question, the maximum number of tokens to generate, and the GPT model to use. - The
payloadvariable is created by encoding theRequestDtoobject as JSON. - The
urlvariable is set to the OpenAI GPT API endpoint. - The
requestvariable is created with the URL and the HTTP method set toPOST. The payload is assigned as the HTTP body, and the authorization token and content type are set as HTTP header fields. - The
dataandresponsevariables are obtained by sending the HTTP request usingsession.data(for: request). - A
guardstatement checks whether the API response has a 200 status code. If it does not,answeris set to “Unable to receive answer” andisLoadingis set tofalse. - The
jsonvariable is created by deserializing the response data withJSONSerialization.jsonObject(with: data, options: []). - The generated text is extracted from
jsonand displayed inanswer.
Note: The Authorization header in the code above contains an API key belonging to the developer (me). If you use this code, replace that API key with your own.
To obtain an OpenAI API key, create an account at openai.com, go to the API section, and follow the instructions to create a key. Keep your API key secure and do not share it.
Conclusion
In this tutorial we build an iOS app that takes user input, sends it to the OpenAI GPT API, and displays the generated text as animated SwiftUI Text.
I hope you found this tutorial informative and that it inspired you to create your own project using the GPT API. If you have questions or feedback, feel free to leave a comment.
The full code is available in my repository with working iOS and Android samples: https://github.com/twissmueller/mobile-snippets
Thank you for reading!