Welcome to another episode in my series on Event-Driven Architectures. This is the third part of the series.
So far we have:
- Event-Driven Architectures with Kafka and Java Spring-Boot
- Event-Driven Architectures with Kafka and Java Spring-Boot - Revision 1
- Event-Driven Architectures with Kafka and Python
- Event-Driven Architectures with Kafka and Python - Revision 1
This article shows how to realize an Event-Driven] architecture with Kotlin, with a few differences from the previous posts:
- We use Kotlin instead of Java.
- We use Gradle instead of Maven for dependency management and building.
- The project was created with IntelliJ’s built-in Spring Initializr, not the web-based one.
- One project/service contains both the producer and the consumer. This doesn’t change the tutorial and is easier to handle.
- Instead of a local Kafka instance via docker-compose, an external service called Upstash provides the Kafka infrastructure.
Upstash is a true serverless offering for Kafka and Redis that provides an on-demand, pay-as-you-go solution without needing to manage hardware, VMs, or Docker containers.
I previously wrote an introductory post on Upstash, called “First Steps with Upstash for Kafka.”
Introduction
Event-driven architectures have become popular in recent years, with Kafka as the de-facto standard for tooling.
This post provides a complete example of an event-driven architecture implemented with a Kotlin Spring Boot service that communicates via a Kafka cluster on Upstash.
The main goal of this tutorial is to provide a working example without getting bogged down in details that distract from the main task of getting something up and running quickly.
We have a few building blocks:
- Infrastructure (Kafka on Upstash)
- Producer (Kotlin, Spring Boot)
- Consumer (Kotlin, Spring Boot)
The producer periodically sends an event to Kafka. The event carries a timestamp. The consumer listens for this event and prints the timestamp.

The implementation resulted in this project structure:

The complete code can be downloaded from here. https://github.com/twissmueller/event-driven-architectures
This can be built directly from the command line or imported into an IDE like IntelliJ.

Code Setup
Users of IntelliJ Ultimate Edition can use the Spring Initializr from the IDE’s “New Project” dialog. If it is not available, you can create the project at https://start.spring.io, download and unpack the ZIP, and import it into IntelliJ or any other IDE or editor.
First, I created a new project that uses Kotlin as the language and Gradle for dependency and build management.
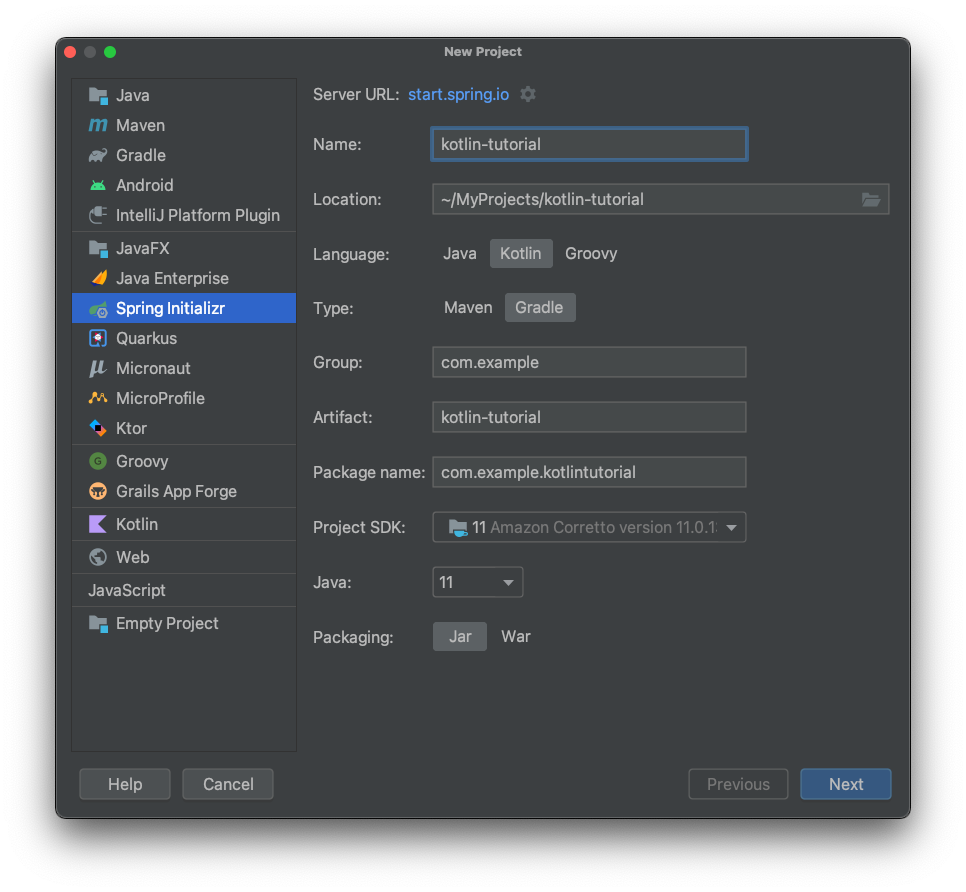
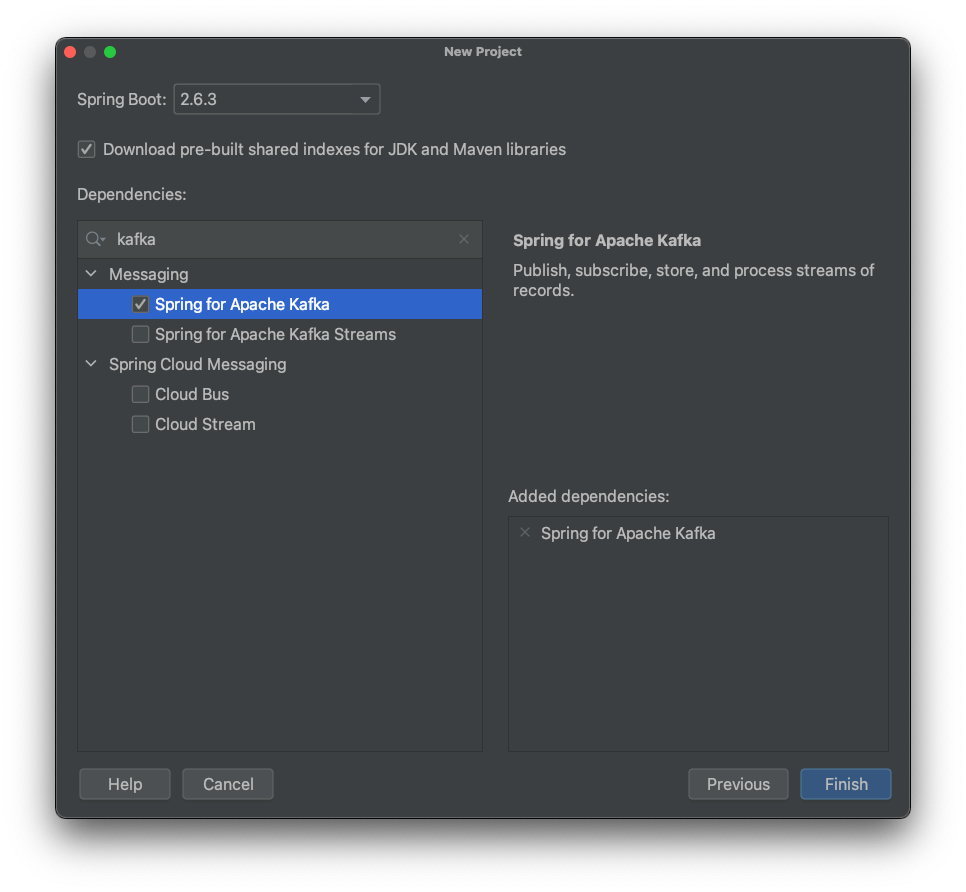
In the next step I added one Spring dependency; the rest were added manually later.
After adding the files for the producer and consumer, the project looked like this:
What goes into those files is explained in the next sections.
Producer
The producer sends events that hold a timestamp to Kafka.
Events in Kafka are key-value pairs. We need to define a serializer for producing and a deserializer for consuming them. I configured this in application.properties:
spring.kafka.producer.key-serializer=org.apache.kafka.common.serialization.StringSerializer
spring.kafka.producer.value-serializer=org.springframework.kafka.support.serializer.JsonSerializer
The key is a simple String; the value is JSON.
The producer has one method that sends the event every 5 seconds. The @Scheduled annotation makes this easy.
First, a timestamp is created and then sent to the tutorial-topic:
@Component
class KafkaProducer(private val kafkaTemplate: KafkaTemplate<String, TimestampEvent>) {

 @Scheduled(fixedRate = 5000)
 fun send() {
  val event = TimestampEvent(timestamp = ZonedDateTime.now())
  kafkaTemplate.send("tutorial-topic", event)
  println("Sent: ${event.timestamp.toString()}")
 }

}
That ‘s all for the producer. On to the consumer…
Consumer
Now we receive the timestamp events sent by the producer.
We start with configuration. Similar to the producer, we specify the data types for the key and value. The consumer also specifies its consumer group.
We also tell Kafka what to do when there is no initial offset or the current offset no longer exists. With auto-offset-reset=earliest we instruct Kafka to use the earliest available offset.
We must also provide a comma-delimited list of packages allowed for deserialization using spring.kafka.consumer.properties.spring.json.trusted.packages.
Here is the complete configuration in application.properties:
spring.kafka.consumer.key-deserializer=org.apache.kafka.common.serialization.StringDeserializer
spring.kafka.consumer.value-deserializer=org.springframework.kafka.support.serializer.JsonDeserializer
spring.kafka.consumer.group-id=tutorial-group
spring.kafka.consumer.auto-offset-reset=earliest
spring.kafka.consumer.properties.spring.json.trusted.packages=com.example.kotlintutorial
Finally, the consumer in KafkaConsumer.kt specifies a listener on a topic using @KafkaListener and handles the incoming event by logging the timestamp:
@Component
class KafkaConsumer {

 @KafkaListener(topics = ["tutorial-topic"])
 fun processMessage(event: TimestampEvent) {
  println("Received: ${event.timestamp.toString()}")
 }

}
Now that the code is in place, we only need the infrastructure that provides our Kafka cluster.
Infrastructure
As mentioned, Upstash provides the Kafka cluster.
If you don’t have an account with a running cluster, see this article for first steps:
2022-02-01 First Steps with Upstash for Kafka
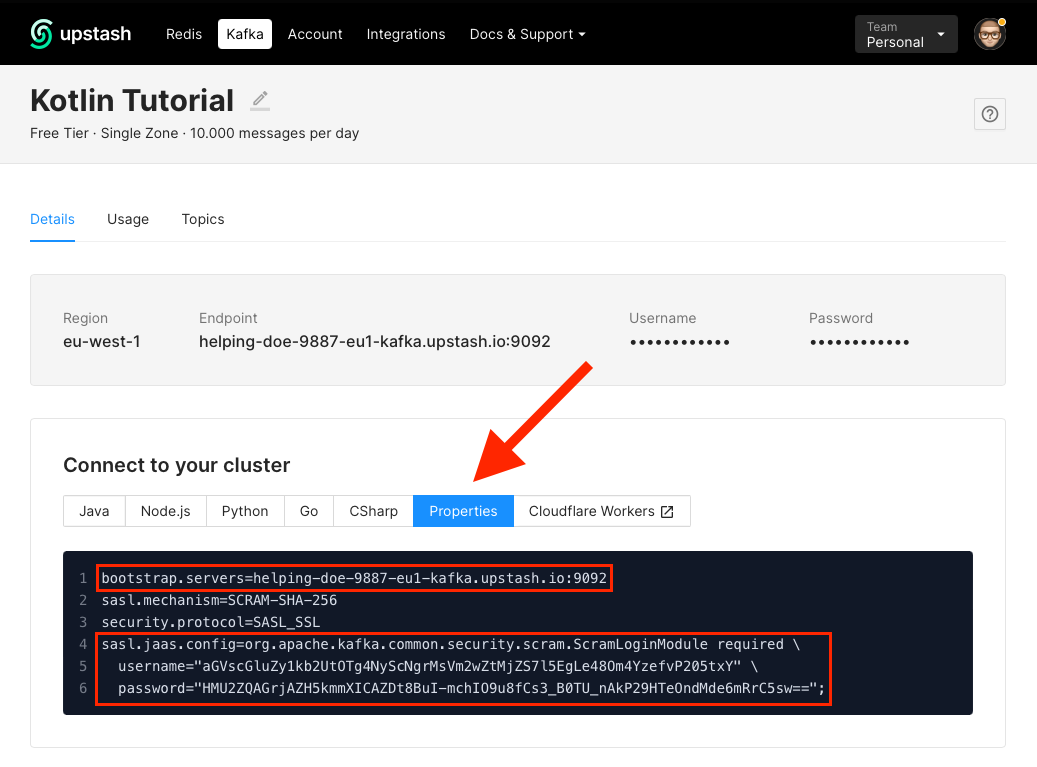
Compared to the Java tutorial, I put the entire configuration into properties.
When your cluster is ready, change two properties in application.properties.
First, set the cluster address in spring.kafka.bootstrap-servers:
spring.kafka.bootstrap-servers=CHANGE_METhen set a few security-related properties. The one you must change is spring.kafka.properties.sasl.jaas.config:
spring.kafka.properties.security.protocol=SASL_SSL
spring.kafka.properties.sasl.mechanism=SCRAM-SHA-256
spring.kafka.properties.sasl.jaas.config=CHANGE_ME
The values for bootstrap.servers and sasl.jaas.config are generated for you in the Upstash console. Do not copy the values below— they belonged to my cluster, which was deleted after this tutorial.
Run the Example Code
Now run everything. First, ensure your cluster on Upstash is running.
Run the project from the IDE or from the terminal with:
./gradlew bootRunYou should see output similar to this in the terminal:

The IDE console output looks like:

Conclusion
This concludes this introductory tutorial on creating an event-driven architecture using Kafka and Kotlin on Upstash.
You now know how to:
- create a cluster
- send events with a producer
- receive events with a consumer
- do all this in Kotlin
Thank you for reading!