Welcome to this first revision of my article “Event-Driven Architectures with Kafka and Java Spring-Boot”.
In the original article the event that was sent out was a String. While this is sufficient for many use cases, most of my use cases require sending an object of a custom type.
Therefore I changed the code and the tutorial to use object serialization and deserialization with JSON.
Of course, there are other methods to serialize and deserialize data. A very popular one, for example, is Avro.
While many ways lead to Rome, let’s start with one and continue with the tutorial.
Introduction
Event-driven architectures have become common over the last years, with Kafka being the de-facto standard when it comes to tooling.
This post provides a complete example for an event-driven architecture implemented with two Java Spring-Boot services that communicate via Kafka.
The main goal for this tutorial has been to provide a working example without getting too much into details that, in my opinion, unnecessarily distract from the main task of getting “something” up and running as quickly as possible.
We have a couple of building blocks, mainly
- Infrastructure (Kafka, Zookeeper)
- Producer (Java Spring-Boot Service)
- Consumer (Java Spring-Boot Service)
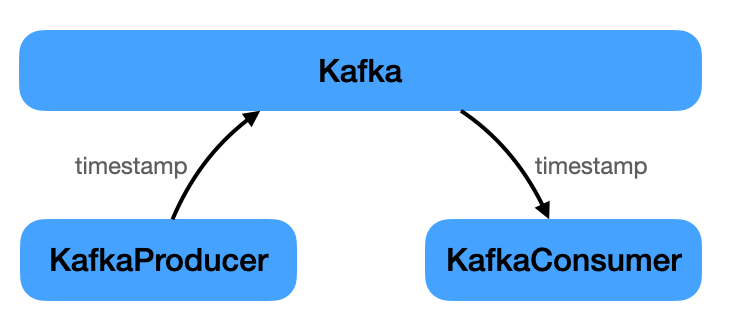
The producer ‘s only task is to periodically send out an event to Kafka. This event just carries a timestamp. The consumer’s job is to listen for this event and print the timestamp.
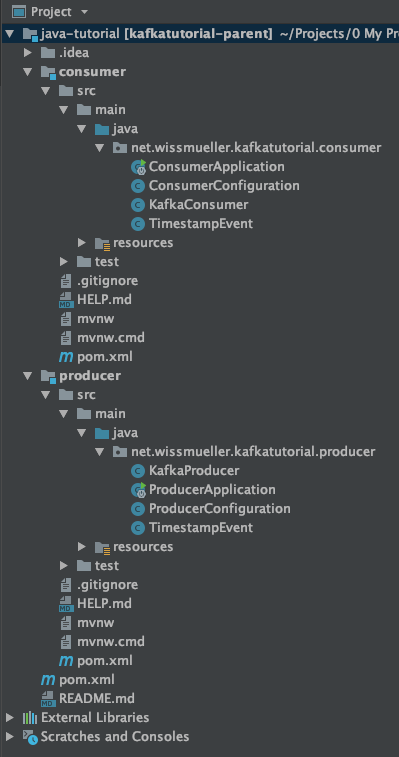
The whole implementation resulted in the following project structure.
The complete project code can be downloaded from here.
This can be built on the command line as explained below, or imported into an IDE like IntelliJ.
Infrastructure
Only two components, besides the services, are needed to get an event-based architecture up and running: Kafka and Zookeeper.
Check the resources section at the end of the tutorial for links to both.
Whereas Kafka is the main part of handling the events, Zookeeper is needed for several reasons. From the Zookeeper website:
ZooKeeper is a centralized service for maintaining configuration information, naming, providing distributed synchronization, and providing group services.
Below is the docker-compose.yml to get both up and running:
version: '3'

services:

 kafka:
  image: wurstmeister/kafka
  container_name: kafka
  ports:
  - "9092:9092"
  environment:
  - KAFKA_ADVERTISED_HOST_NAME=127.0.0.1
  - KAFKA_ADVERTISED_PORT=9092
  - KAFKA_ZOOKEEPER_CONNECT=zookeeper:2181
  depends_on:
  - zookeeper

 zookeeper:
  image: wurstmeister/zookeeper
  ports:
  - "2181:2181"
  environment:
  - KAFKA_ADVERTISED_HOST_NAME=zookeeper
When this is in place, only the two Java services are needed that implement the “business domain”. Well, a very simple one: sending and receiving a timestamp.
Code Setup
There is a very practical website where one can create and initialize a Spring project with all the required dependencies: Spring Initializr.
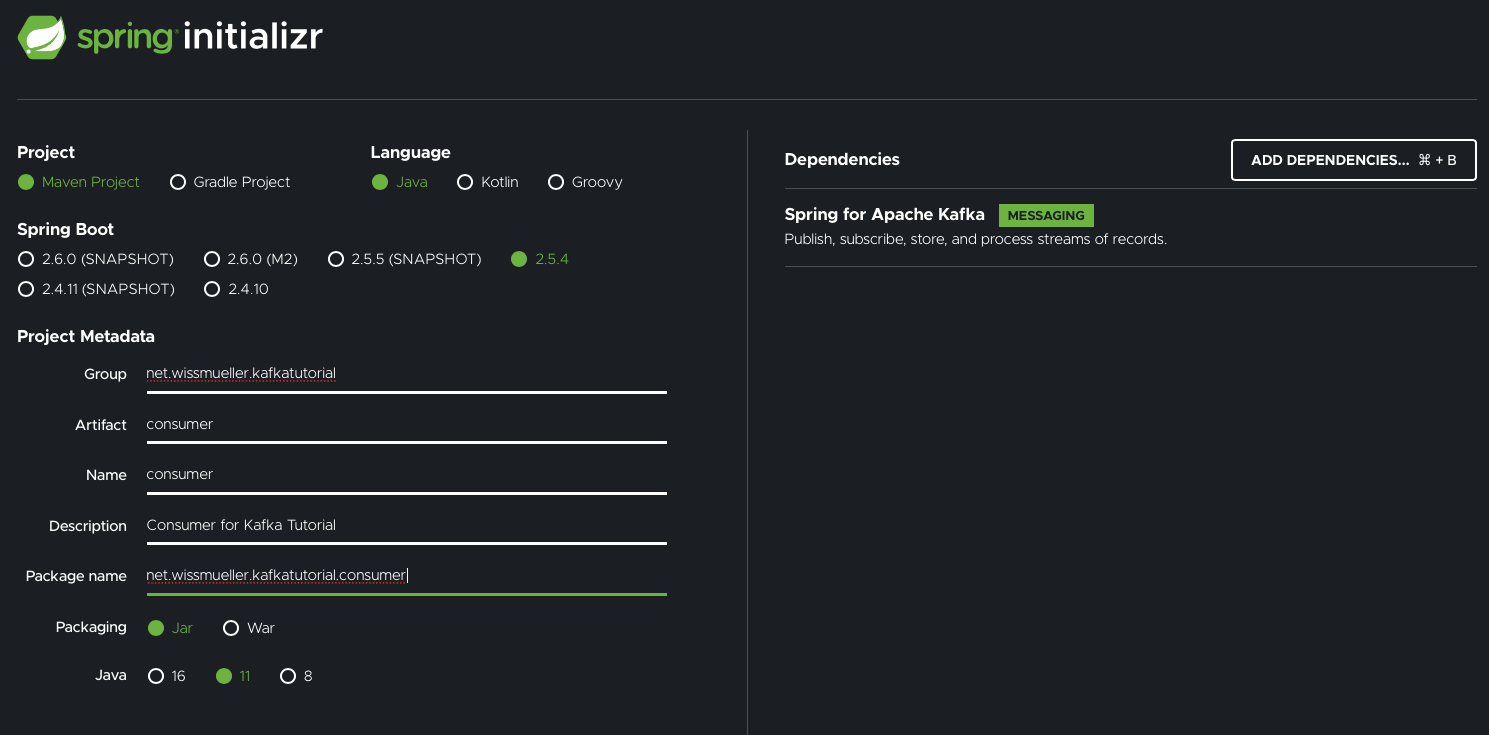
First, I created the producer application:
Next was the consumer application:
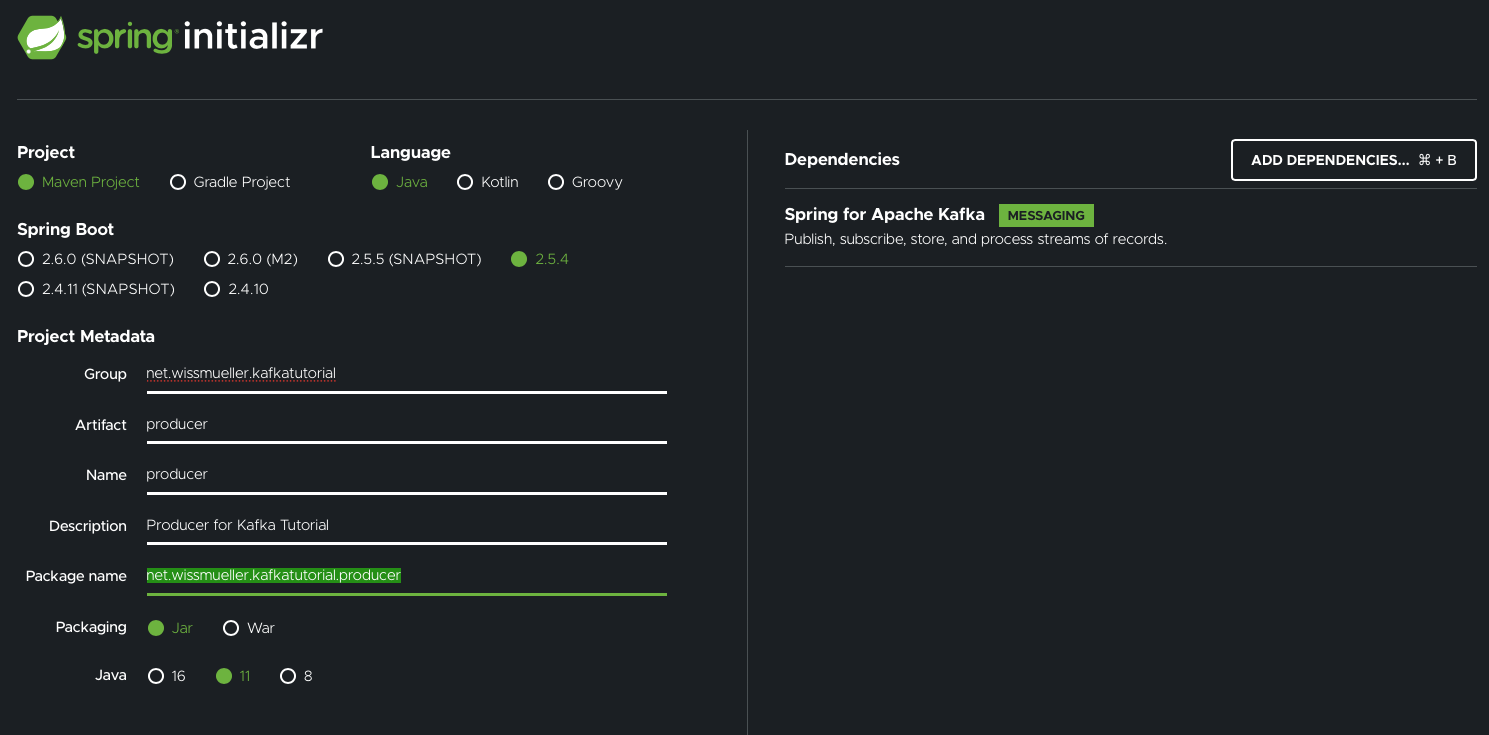
Note that I already added the dependency for “Spring for Apache Kafka”.
After downloading and unpacking the project files it was time to start implementing.
For the producer and the consumer, four files are needed for each:
- The Application
- The Configuration
- The Producer, respectively the Consumer
- The Properties file
What goes into those files is explained in the next two chapters. I am not going into the details here, because this tutorial is not meant to be an in-depth Kafka tutorial.
Producer
As mentioned above, the producer is “producing” events that hold a timestamp and sending them out via Kafka to everyone who is interested in receiving them.
package net.wissmueller.kafkatutorial.producer;

import java.time.ZonedDateTime;

public class TimestampEvent {
 private ZonedDateTime timestamp;

 public TimestampEvent(ZonedDateTime timestamp) {
 this.timestamp = timestamp;
 }

 public ZonedDateTime getTimestamp() {
 return timestamp;
 }

 public void setTimestamp(ZonedDateTime timestamp) {
 this.timestamp = timestamp;
 }
}
Everything starts with the application class in ProducerApplication.java, which has been left more or less untouched. Only the @EnableScheduling annotation has been added, which is needed in the producer itself.
package net.wissmueller.kafkatutorial.producer;

// imports...

@SpringBootApplication
@EnableScheduling
public class ProducerApplication {

 public static void main(String[] args) {
 SpringApplication.run(ProducerApplication.class, args);
 }

}
Some configuration is needed which I have put into ProducerConfiguration.java.
In producerFactory() we specify:
- Where to find the server:
BOOTSTRAP_SERVERS_CONFIG - The serializer for the event key:
KEY_SERIALIZER_CLASS_CONFIG - The serializer for the event value:
VALUE_SERIALIZER_CLASS_CONFIG - The ID for the Kafka group:
GROUP_ID_CONFIG
We also need the topic on which to send the events. Therefore we have timestampTopic() which returns NewTopic.
package net.wissmueller.kafkatutorial.producer;

// imports...

public class ProducerConfiguration {

 @Bean
 public ProducerFactory<String, TimestampEvent> producerFactory() {
 var props = new HashMap<String, Object>();
 props.put(ConsumerConfig.BOOTSTRAP_SERVERS_CONFIG, "localhost:9092");
 props.put(ProducerConfig.KEY_SERIALIZER_CLASS_CONFIG, StringSerializer.class);
 props.put(ProducerConfig.VALUE_SERIALIZER_CLASS_CONFIG, JsonSerializer.class);
 props.put(ConsumerConfig.GROUP_ID_CONFIG, "tutorialGroup");
 return new DefaultKafkaProducerFactory<>(props);
 }

 @Bean
 public KafkaTemplate<String, TimestampEvent> kafkaTemplate() {
 return new KafkaTemplate<>(producerFactory());
 }

 @Bean
 public NewTopic timestampTopic() {
 return TopicBuilder.name("timestamp")
     .build();
 }
}
The producer itself is in KafkaProducer.java:
package net.wissmueller.kafkatutorial.producer;

// imports...

@Component
public class KafkaProducer {
 private static final Logger log = LoggerFactory.getLogger(KafkaProducer.class);

 @Autowired
 private KafkaTemplate<String, TimestampEvent> kafkaTemplate;

 @Scheduled(fixedRate = 5000)
 public void reportCurrentTime() {
 var event = new TimestampEvent(ZonedDateTime.now());
 kafkaTemplate.send("timestamp", event);
 log.info("Sent: {}", event.getTimestamp().toString());
 }
}
This class gets initialized with the KafkaTemplate.
In reportCurrentTime() the timestamp is being sent to Kafka every 5 seconds, which is implemented via the @Scheduled annotation. This only works when the @EnableScheduling annotation has been set in the application class.
That is all for the producer. On to the consumer…
Consumer
It is time to receive the events with the timestamps that have been sent out by the producer.
package net.wissmueller.kafkatutorial.consumer;

import java.time.ZonedDateTime;

public class TimestampEvent {
 private ZonedDateTime timestamp;

 public TimestampEvent() {}

 public ZonedDateTime getTimestamp() {
 return timestamp;
 }

 public void setTimestamp(ZonedDateTime timestamp) {
 this.timestamp = timestamp;
 }
}
As with the producer, the entry point is the application class in ConsumerApplication.java. This time completely unchanged, just as it was generated by Spring Initializr.
package net.wissmueller.kafkatutorial.consumer;
// imports...
@SpringBootApplication
public class ConsumerApplication {
public static void main(String[] args) {
SpringApplication.run(ConsumerApplication.class, args);
}
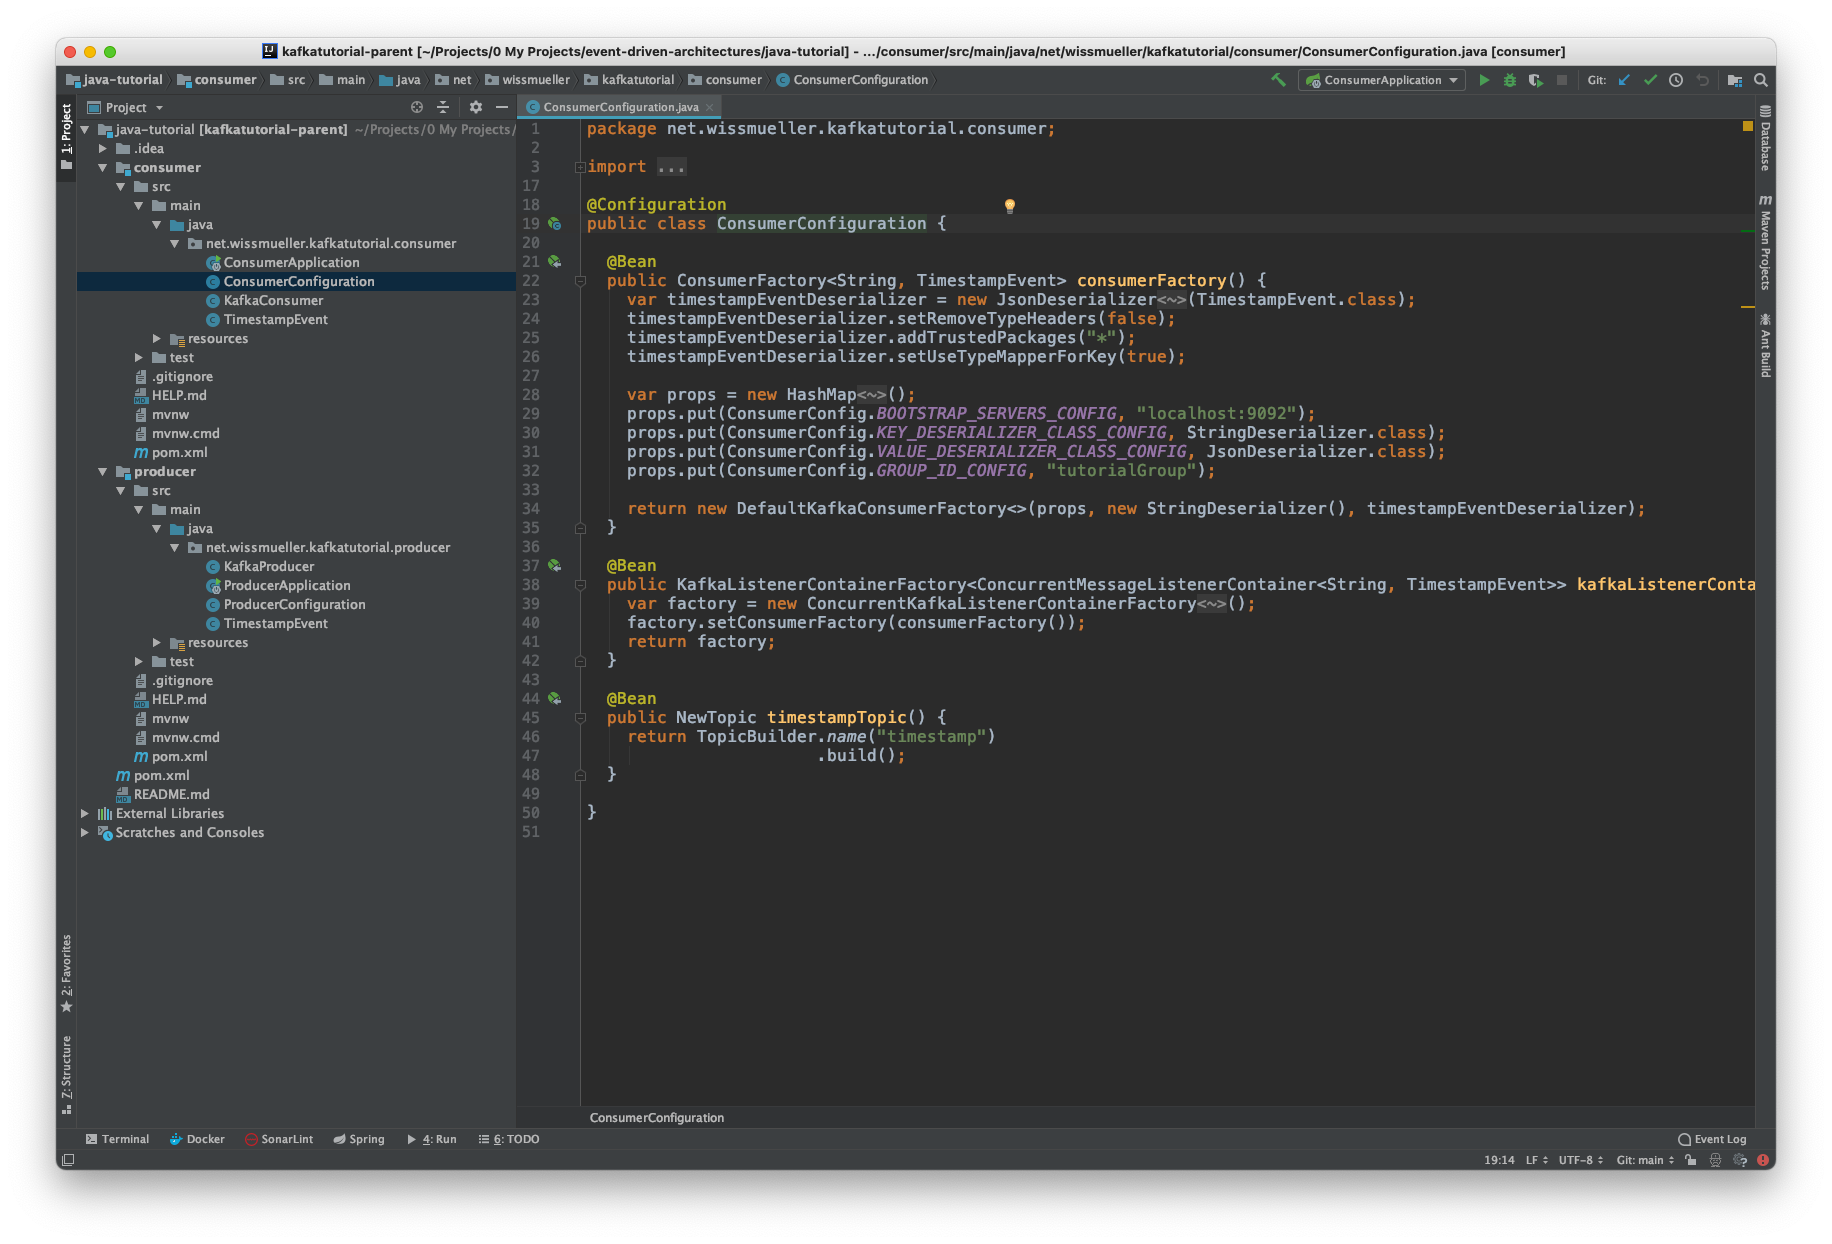
}The configuration is in ConsumerConfiguration.java where we, analogously to the producer,
In consumerFactory() we specify:
- Where to find the server:
BOOTSTRAP_SERVERS_CONFIG - The deserializer for the event key:
KEY_DESERIALIZER_CLASS_CONFIG - The deserializer for the event value:
VALUE_DESERIALIZER_CLASS_CONFIG - The ID for the Kafka group:
GROUP_ID_CONFIG
package net.wissmueller.kafkatutorial.consumer;

// imports...

public class ConsumerConfiguration {

 @Bean
 public ConsumerFactory<String, TimestampEvent> consumerFactory() {
 var timestampEventDeserializer = new JsonDeserializer<TimestampEvent>(TimestampEvent.class);
 timestampEventDeserializer.setRemoveTypeHeaders(false);
 timestampEventDeserializer.addTrustedPackages("*");
 timestampEventDeserializer.setUseTypeMapperForKey(true);

 var props = new HashMap<String, Object>();
 props.put(ConsumerConfig.BOOTSTRAP_SERVERS_CONFIG, "localhost:9092");
 props.put(ConsumerConfig.KEY_DESERIALIZER_CLASS_CONFIG, StringDeserializer.class);
 props.put(ConsumerConfig.VALUE_DESERIALIZER_CLASS_CONFIG, JsonDeserializer.class);
 props.put(ConsumerConfig.GROUP_ID_CONFIG, "tutorialGroup");

 return new DefaultKafkaConsumerFactory<>(props, new StringDeserializer(), timestampEventDeserializer);
 }

 @Bean
 public KafkaListenerContainerFactory<ConcurrentMessageListenerContainer<String, TimestampEvent>> kafkaListenerContainerFactory() {
 var factory = new ConcurrentKafkaListenerContainerFactory<String, TimestampEvent>();
 factory.setConsumerFactory(consumerFactory());
 return factory;
 }

 @Bean
 public NewTopic timestampTopic() {
 return TopicBuilder.name("timestamp")
     .build();
 }
}
Last but not least, we have the consumer in KafkaConsumer.java. We only have to specify a listener on a topic by using the @KafkaListener annotation and define the action. In this case, the timestamp just gets logged.
package net.wissmueller.kafkatutorial.consumer;

// imports...

@Component
public class KafkaConsumer {
 private static final Logger log = LoggerFactory.getLogger(KafkaConsumer.class);

 @KafkaListener(topics = "timestamp", containerFactory = "kafkaListenerContainerFactory")
 void listener(TimestampEvent event) {
 log.info("Received: {}", event.getTimestamp()
        .toString());
 }
}
Run Example Code
It is time to run everything. Remember the following project structure:
code/
- docker-compose.yml
- producer/
-- pom.xml
--...
- consumer/
-- pom.xml
--...
In directory code, start Kafka and Zookeeper via docker-compose:
docker-compose up -d
Change into the producer directory and start the service with:
mvn spring-boot:run
Finally, in a new terminal window, change into the consumer directory and start the service the same way:
mvn spring-boot:run
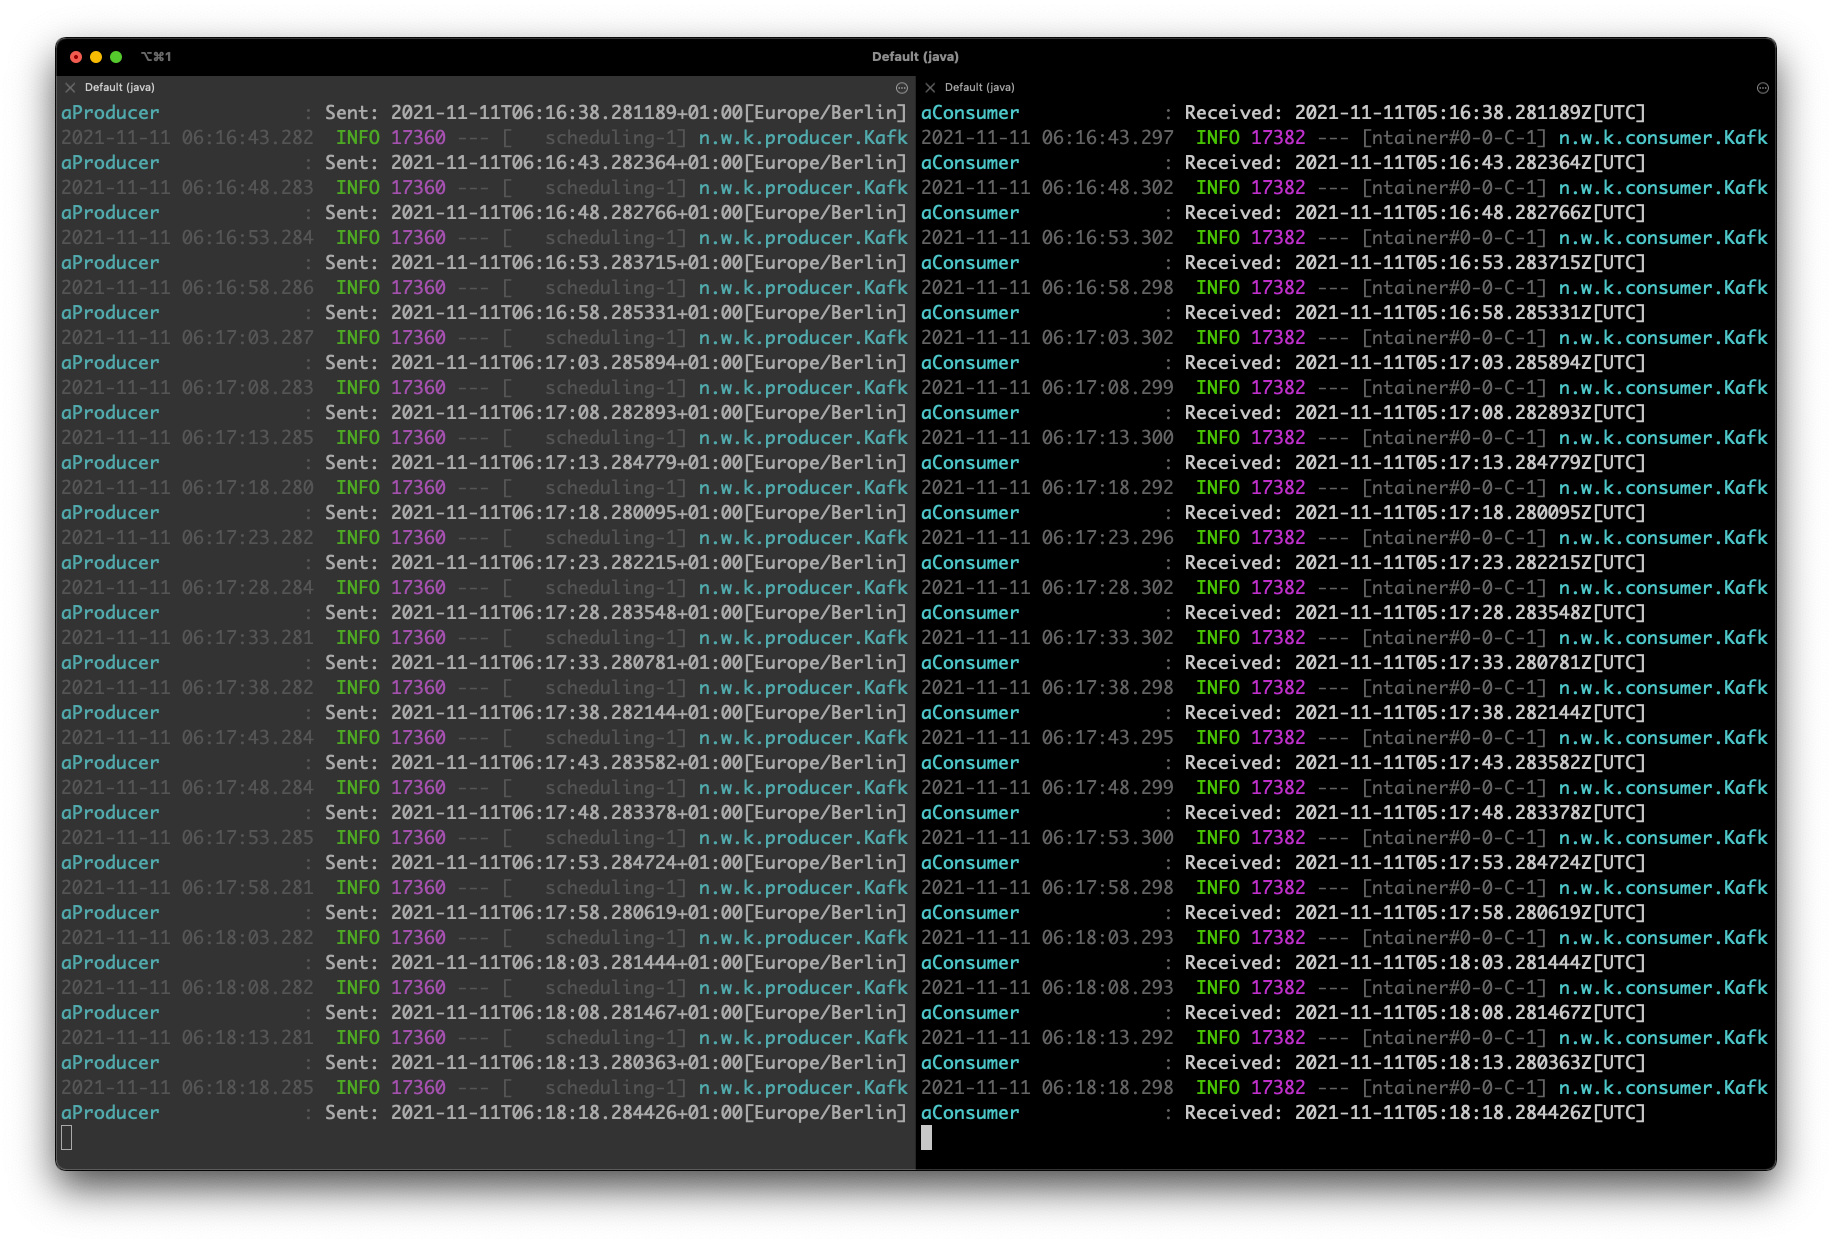
Now, you should be able to see something similar to this. On the left is the log output of the producer and on the right is the log output of the consumer.
This concludes this introductory tutorial on how to create an event-driven architecture using Kafka and Java Spring-Boot.
The complete project code can be downloaded from here.