- “Hey, wait a second, you have already written about this, right?”
Close, but not quite. The last time I wrote about using SFTP (see [[2021-08-12 Using a Local SFTP-Server for Testing | about using SFTP]]). This time is about FTPS.
- “So, what’s the difference?”
Simply put, FTPS is the same as FTP but with an additional TLS layer, whereas SFTP is a separate protocol based on SSH.
This article won’t go any deeper into explaining the difference— there are plenty of good explanations elsewhere.
Let’s get started.
Three directories are needed:
/Users/youruser/ftps/data: The directory where all data for up- and downloading files go./Users/youruser/ftps/passwd: A directory that holds the server’s password file./Users/youruser/ftps/ssl: The directory where all the TLS-specific files go.
The last two are not strictly necessary, but using them makes things a little faster.
TLS certificates are created automatically if they do not exist. By mapping the certificate directory to a host directory, the certificates won’t be regenerated when a new container instance starts.
You can, of course, place your own certificates in that directory as well.
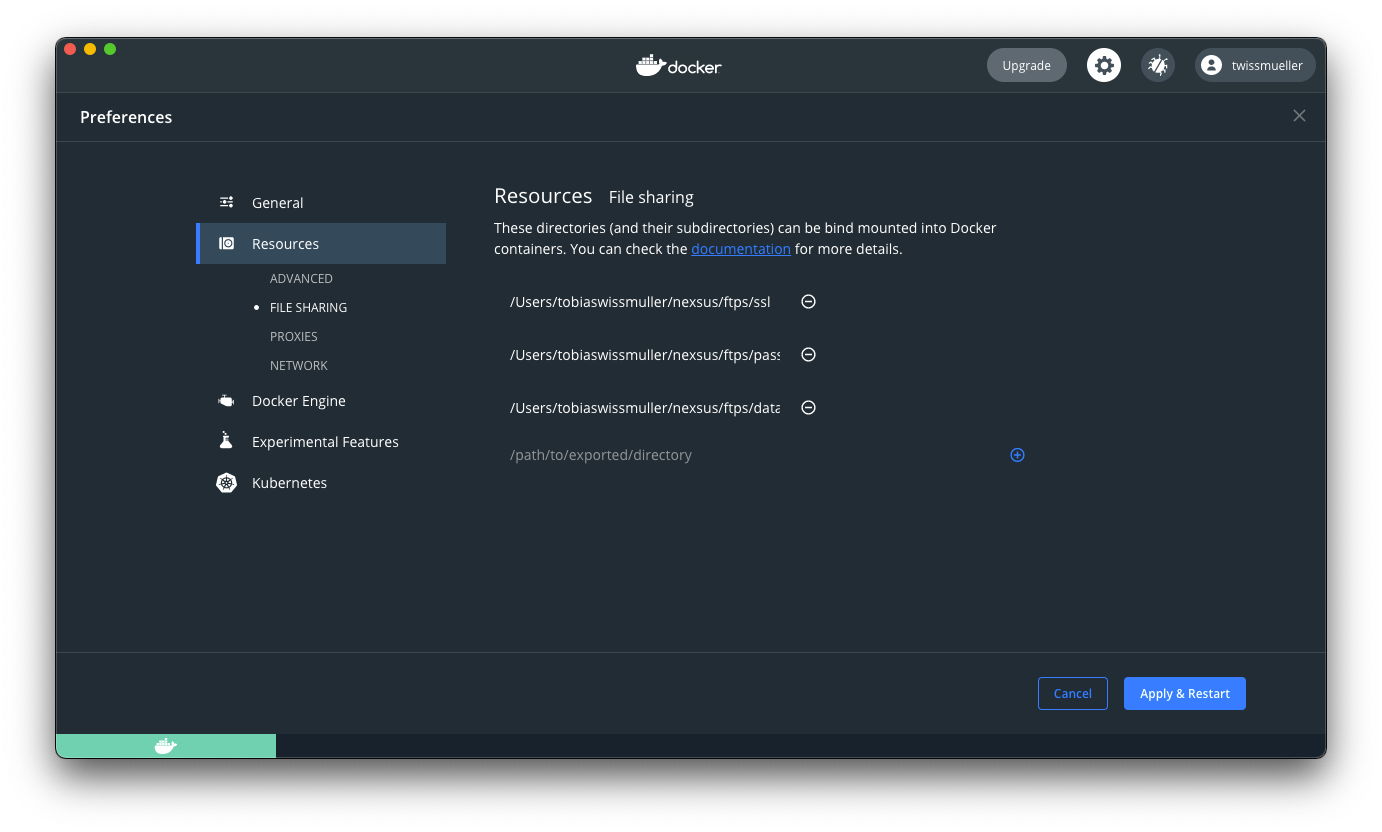
Make sure Docker has permission to map and write these directories. I ‘m using Docker Desktop for Mac and can add the directories in the settings.
This time I ‘ve put the entire configuration in a handy docker-compose.yml:
version: '3'

services:
 ftps:
  image: stilliard/pure-ftpd
  container_name: ftps
  ports:
   - "21:21"
   - "30000-30009:30000-30009"
  volumes:
   - "/Users/youruser/ftps/data:/home/foo/"
   - "/Users/youruser/ftps/passwd:/etc/pure-ftpd/passwd"
   - "/Users/youruser/ftps/ssl:/etc/ssl/private/"
  environment:
   PUBLICHOST: "localhost"
   FTP_USER_NAME: foo
   FTP_USER_PASS: pass
   FTP_USER_HOME: /home/foo
   ADDED_FLAGS: "--tls=2"
   TLS_CN: "localhost"
   TLS_ORG: "YourOrg"
   TLS_C: "DE"
As usual, we bring it up with docker-compose up -d and check the logs to ensure everything starts correctly with docker-compose logs -f.
For testing, I ‘m using Cyberduck.
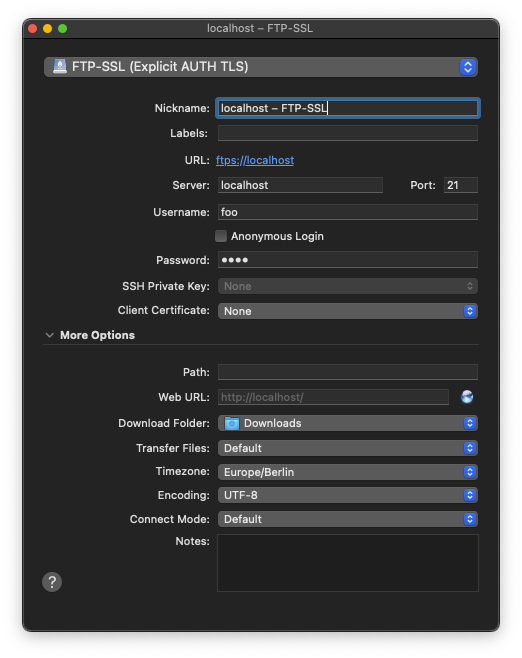
After starting Cyberduck, create a new connection.
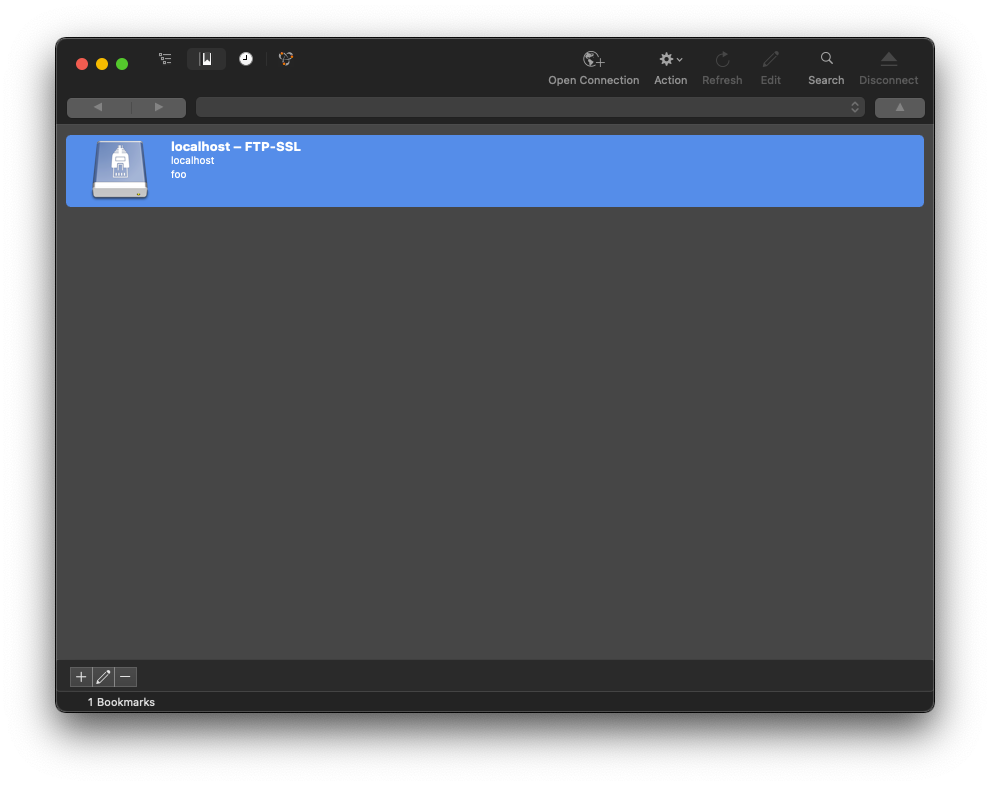
Now we are ready to connect.
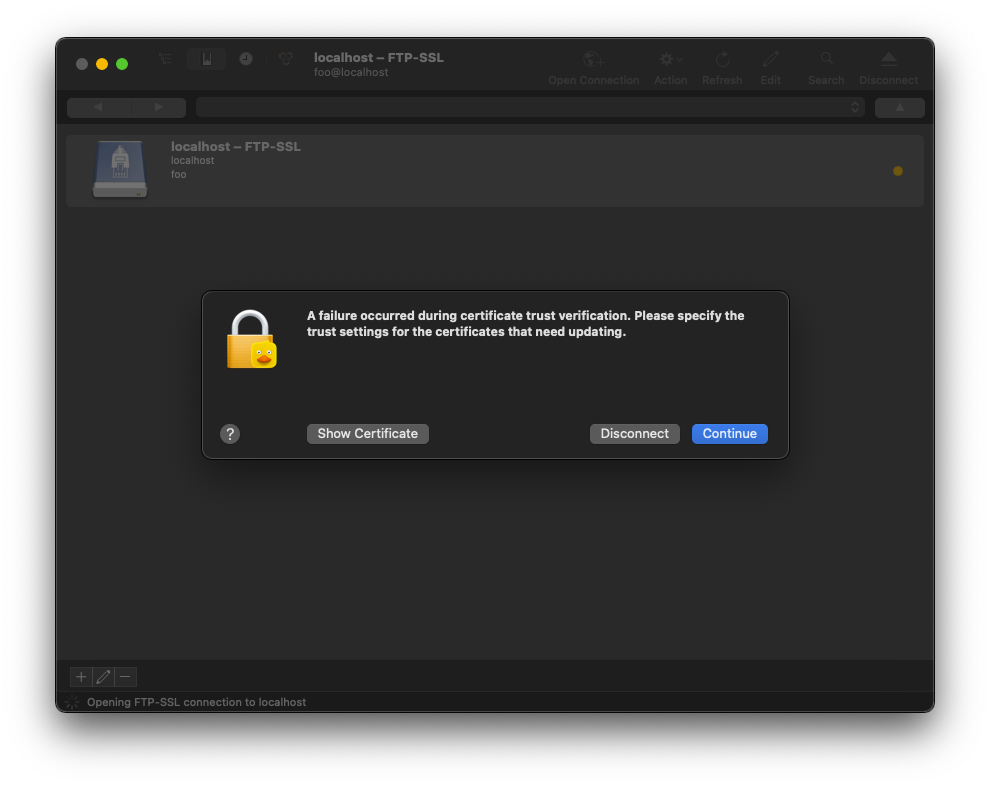
Upon connecting, a message appears stating that certificate trust verification failed. This is fine: for testing the certificate was generated locally, not by an official authority.
Before the test, I created two files in the /Users/youruser/ftps/data directory, which are visible after connecting.
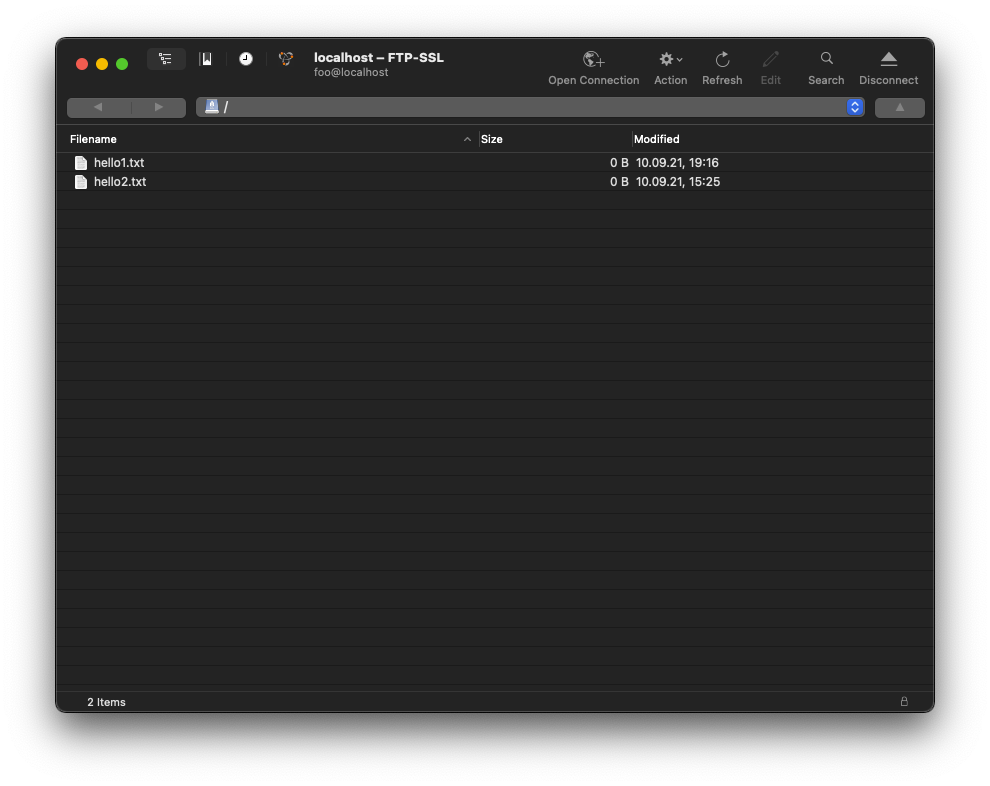
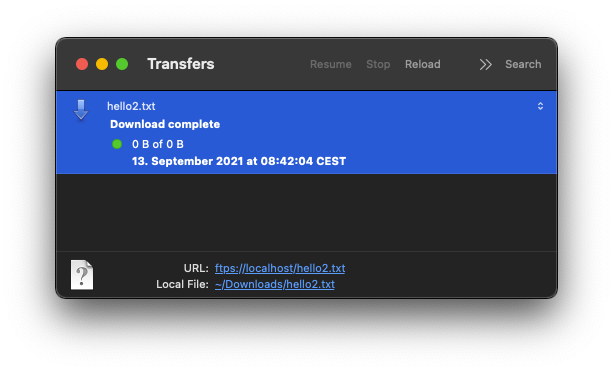
Double-click a file to download it. The certificate-trust warning appears again, which is expected.

A final message appears after the download, and that concludes this post.
Thanks for reading. Hope it helped!
Feel free to buy me a coffee if you liked this post.