![]()
This post builds on my previous article “Where is my iPhone” by using more Apple frameworks to create a working app for iPhone and iPad.
In addition to determining the device’s location, I will lay out a full data-flow pipeline from data origin, through persistence, to visualization.
Four Apple frameworks are covered in this article:
- Core Location
- Combine
- Core Data
- SwiftUI
The order in which I go through the frameworks follows the data flow.

Location coordinates originate in Core Location and will be stored in a Core Data database.
The link between these two is a Combine publisher that receives coordinates from Core Location and sends them to Core Data.
Finally, a SwiftUI view—linked to Core Data—visualizes all coordinates from the database as blue dots on a map.
![]()
The complete Xcode workspace with the fully functional application can be downloaded from here.
Core Location
Everything starts with an instance of CLLocationManager instantiated in the LocationPublisher class.
private let locationManager = CLLocationManager()
Assign a delegate to it— in this case, the LocationPublisher.
self.locationManager.delegate = self
To receive location updates, implement the delegate method:
extension LocationPublisher: CLLocationManagerDelegate {
 func locationManager(_ manager: CLLocationManager, didUpdateLocations locations: [CLLocation]) {
 guard let location = locations.last else { return }

 wrapped.send((longitude: location.coordinate.longitude, latitude: location.coordinate.latitude))
 }
}
The location coordinates are sent to our Combine Publisher, which is described in the next section.
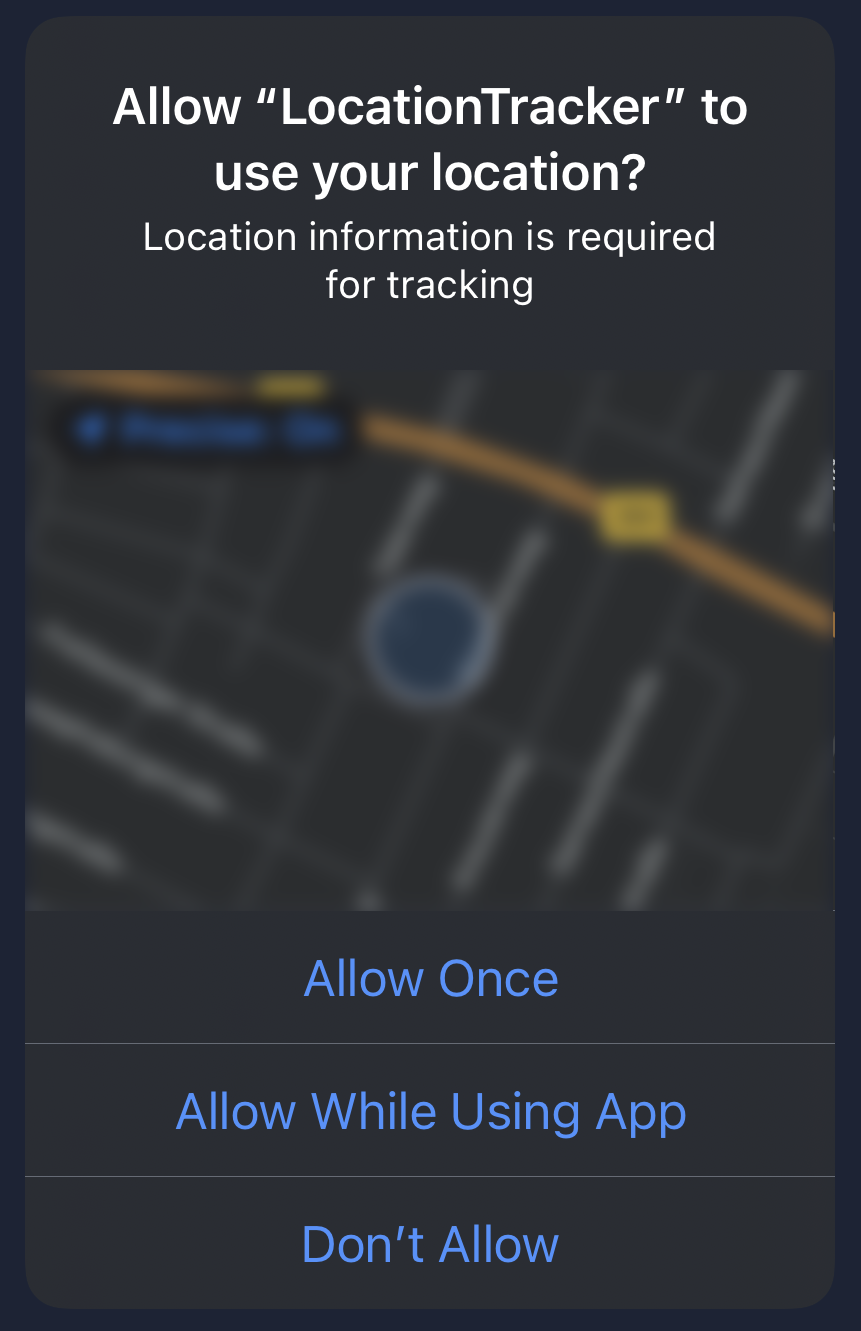
Before starting the app, add the required keys to the Info.plist; otherwise location tracking won’t work.

On the first launch, you will be asked to confirm whether Location Tracker is allowed to determine the user’s location.
Now we “push” the coordinates into the database. We do this using a Combine Publisher, which will “automagically” link the CLLocationManager and Core Data.
Combine
The LocationPublisher has a PassthroughSubject that takes a tuple whose first element is the longitude and whose second element is the latitude of the received coordinate.
typealias Output = (longitude: Double, latitude: Double)
typealias Failure = Never

private let wrapped = PassthroughSubject<(Output), Failure>()
As we saw in the “Core Location” section, whenever a coordinate is received in the delegate method locationManager(_ manager: CLLocationManager, didUpdateLocations locations: [CLLocation]), it is sent to the PassthroughSubject.
wrapped.send((longitude: location.coordinate.longitude, latitude: location.coordinate.latitude))
It’s time for the LocationPublisher to jump into action and become a Combine publisher. This allows other classes that act as data sinks (Core Data, anyone?) to subscribe to it.
extension LocationPublisher: Publisher {
  func receive<Downstream: Subscriber>(subscriber: Downstream) where Failure Downstream.Failure, Output Downstream.Input {
    wrapped.subscribe(subscriber)
  }
}
This code includes everything needed to implement a method that receives the coordinates sent to the PassthroughSubject.
locationPublisher.sink(receiveValue:)
This is important for the next step, when we connect the output of the LocationPublisher to our Core Data database.
Core Data
To “push” location data into the database, both the LocationPublisher and Core Data need to be connected.
The PersistenceController is the class that handles all our database-related code.
It has a method add that takes a (longitude, latitude) tuple and saves it to the database.
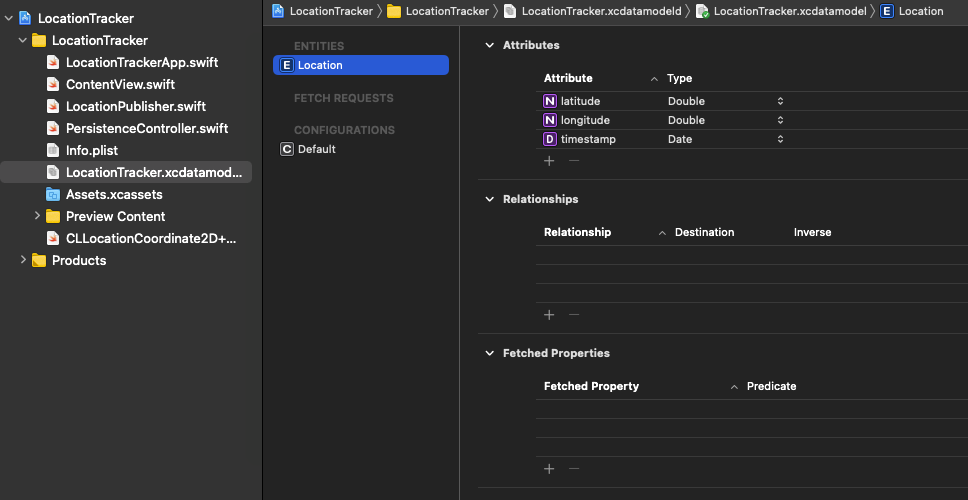
This tuple is converted into a Location entity defined in LocationTracker.xcdatamodel.
Linking the LocationPublisher and the PersistenceController requires just one line, thanks to Combine.
locationPublisher.sink(receiveValue: PersistenceController.shared.add)
This happens right at the beginning, when the application is being initialised in LocationTrackerApp.init.
Now that the location data is being pushed into our database, how does it get visualised on a map?
On to the next chapter…
SwiftUI
The user interface contains a map and a button.
The map displays all coordinates stored in CoreData.
Pressing the button deletes all data in the database and automatically clears the markers from the map.
In ContentView, the locations are updated automatically using a @FetchRequest.
@FetchRequest(
    sortDescriptors: [NSSortDescriptor(keyPath: \Location.timestamp, ascending: true)],
    animation:.default)
private var locations: FetchedResults<Location>
All that remains is to tell the map to use locations.
Map(coordinateRegion: $region,
  interactionModes:.all,
  showsUserLocation: false,
  userTrackingMode:.constant(.follow),
  annotationItems: locations) { location in

  MapAnnotation(coordinate: CLLocationCoordinate2D(latitude: location.latitude, longitude: location.longitude)) {
    Circle().fill(Color.blue).frame(width: 10, height: 10)
  }
}
As a result, every location is displayed as a blue dot, and the map stays in sync with the database. No further code required—seriously.
Conclusion
That’s about it for building a location tracker with Apple’s latest frameworks.
I hope you enjoyed this tutorial and gained some helpful ideas for your project.
If you prefer a ready-made solution, the complete Xcode workspace with the fully functional application can be downloaded here.