Based on the previous tutorial on running Jenkins inside a Kubernetes cluster, it is now time to leverage the Kubernetes infrastructure to scale build jobs across the cluster.
Sample Build Jobs
First, create two projects to test the setup. The jobs won’t do anything useful—they will just wait 10 seconds and then finish.
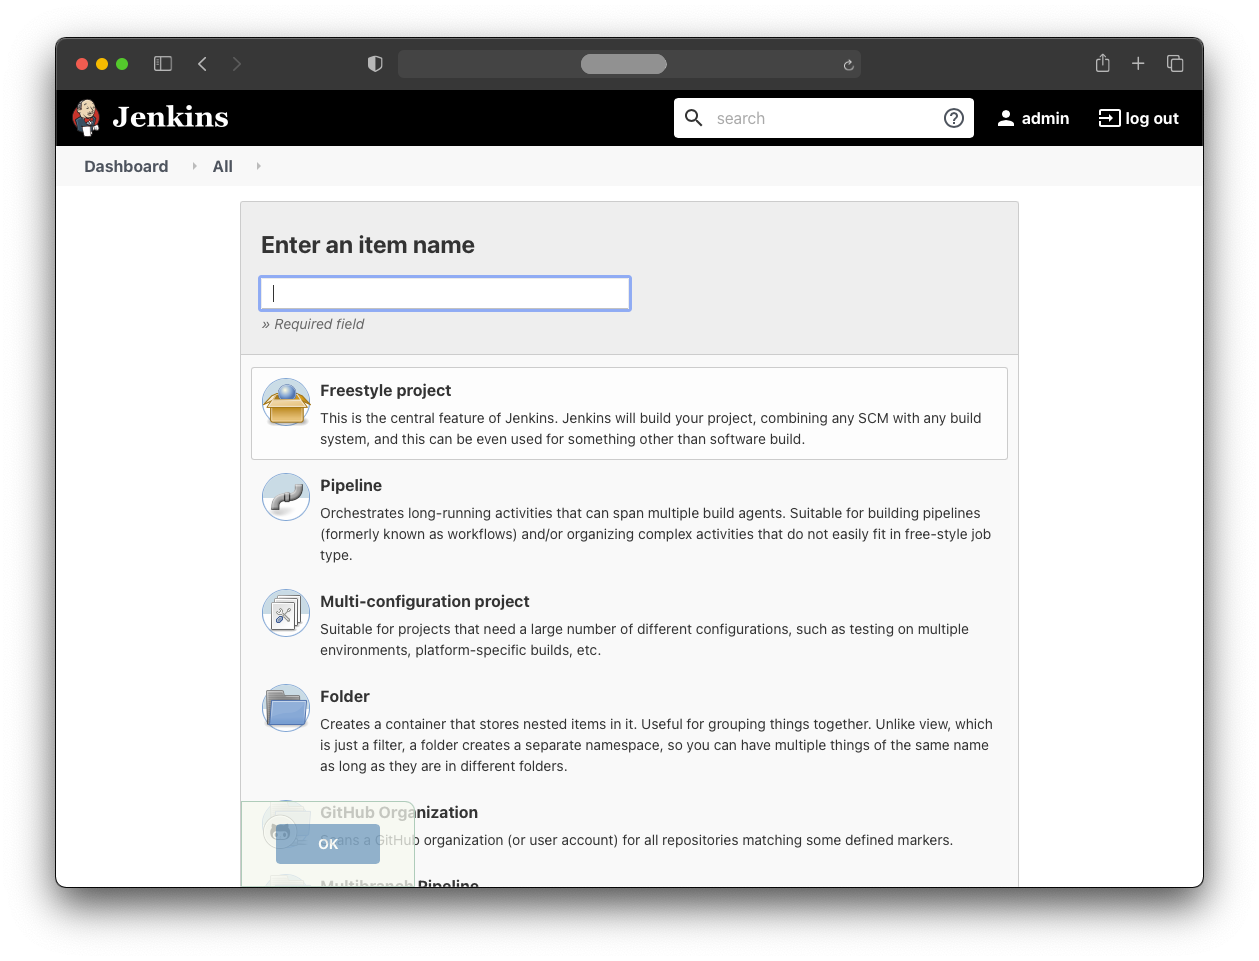
Create the jobs by clicking “New Item” in the dashboard and selecting “Freestyle Project”.
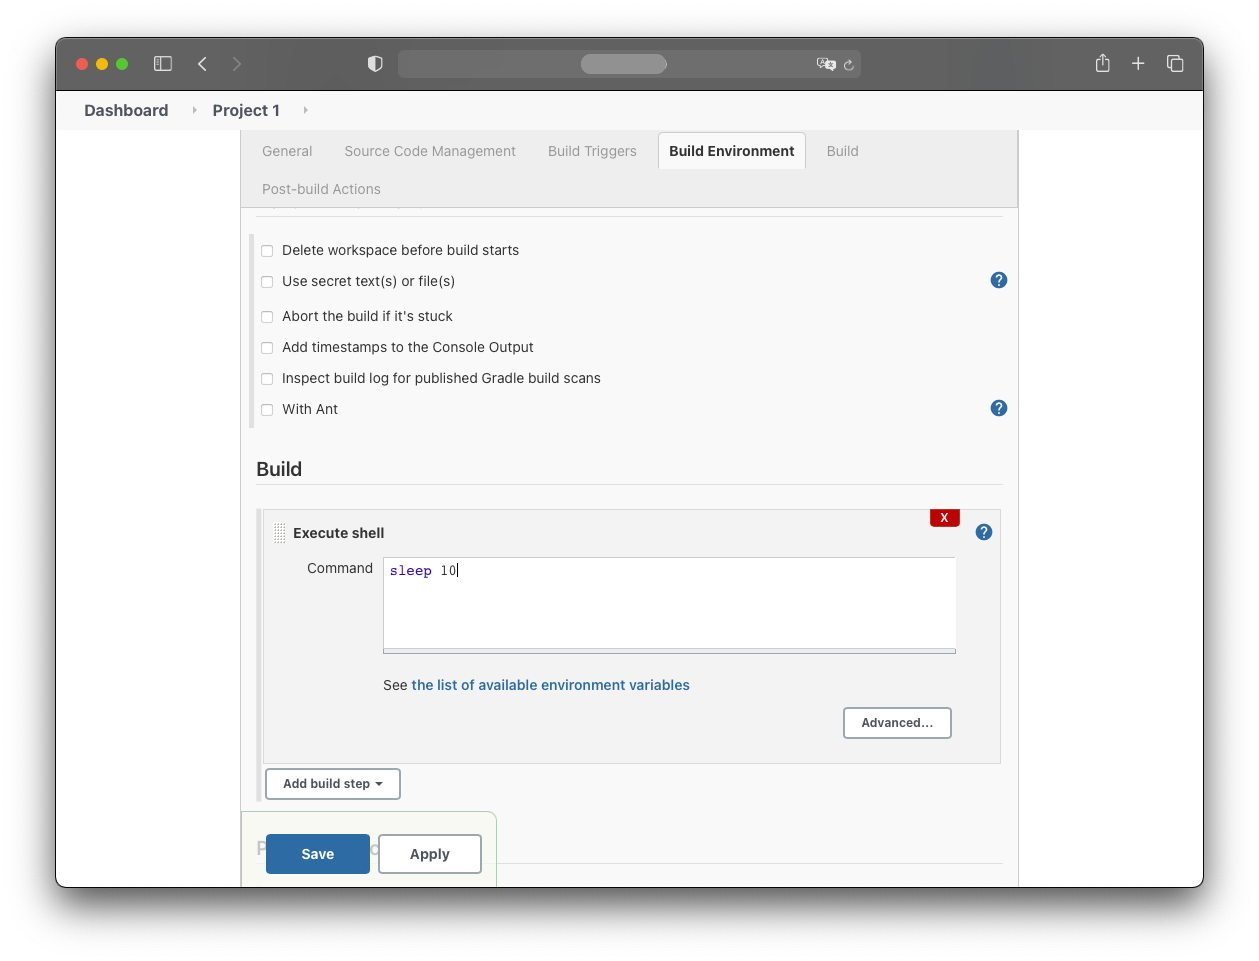
In the “Build” section, add an “Execute shell” build step.
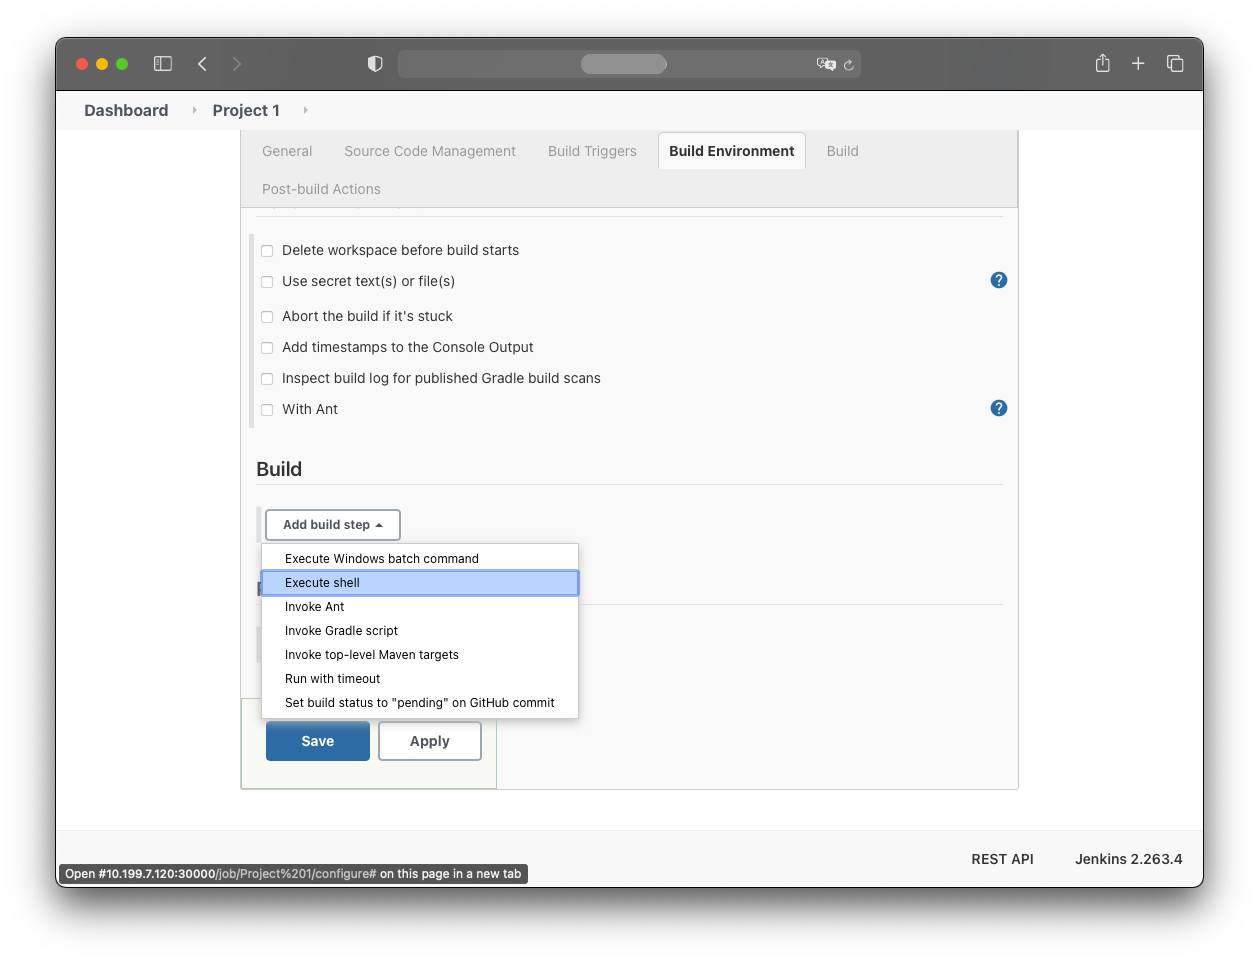
The command the build job should perform is:
sleep 10
After saving, the new job appears in the dashboard. Create another job so there are two total.
When both jobs are triggered simultaneously, they appear under “Build Executor Status”.
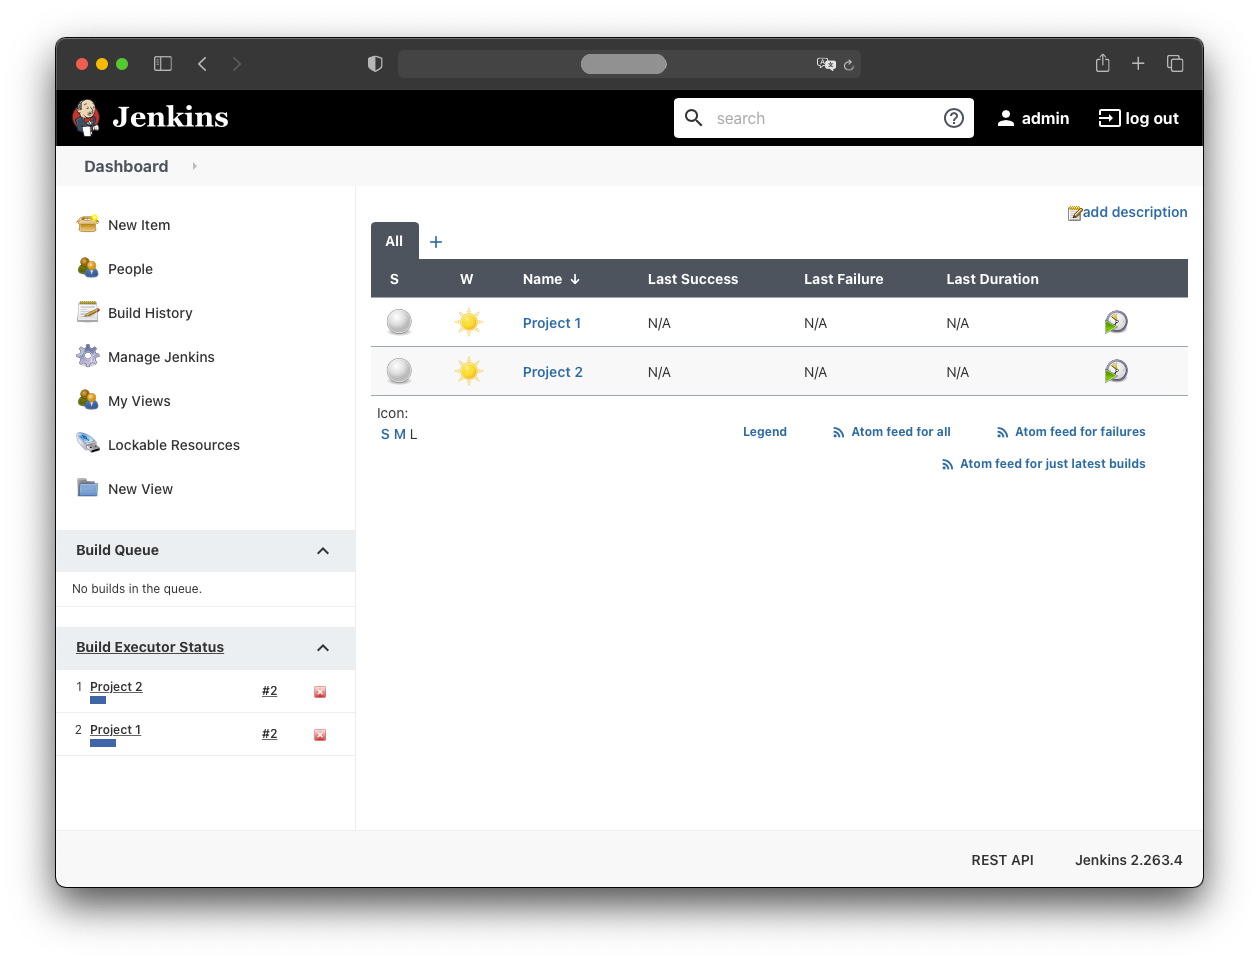
For now, both jobs execute within the Jenkins pod. This won’t scale in the long run.
The goal is to run each build job instance in a newly created pod whose lifecycle is tied to the build job:
- When a job is triggered, a new pod is created.
- The job runs inside that pod.
- When the job finishes, the pod is deleted.
To achieve this, additional configuration is required.
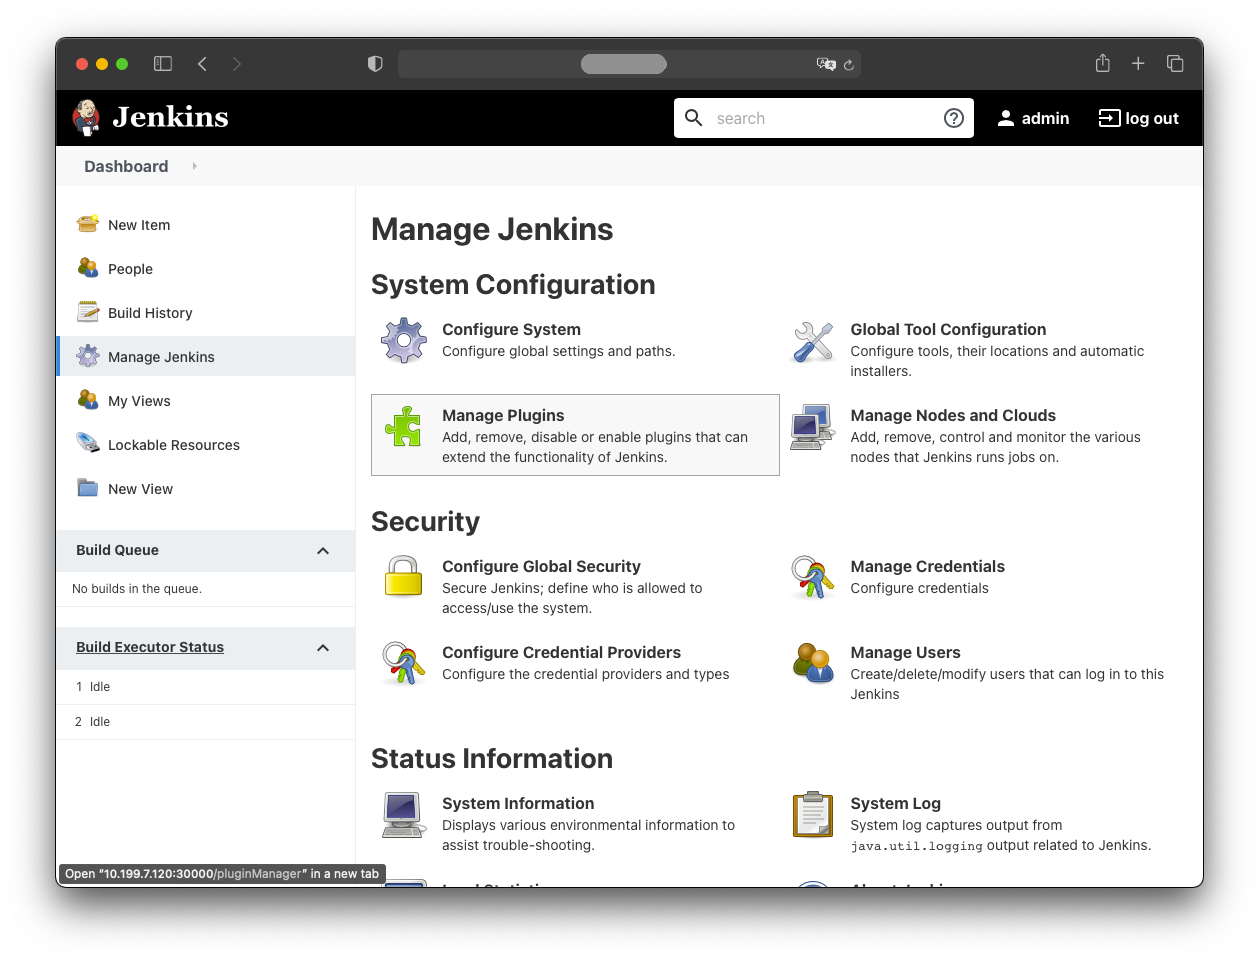
Install Kubernetes Plugin
Install the Kubernetes plugin via:
- Manage Jenkins
- Manage Plugins
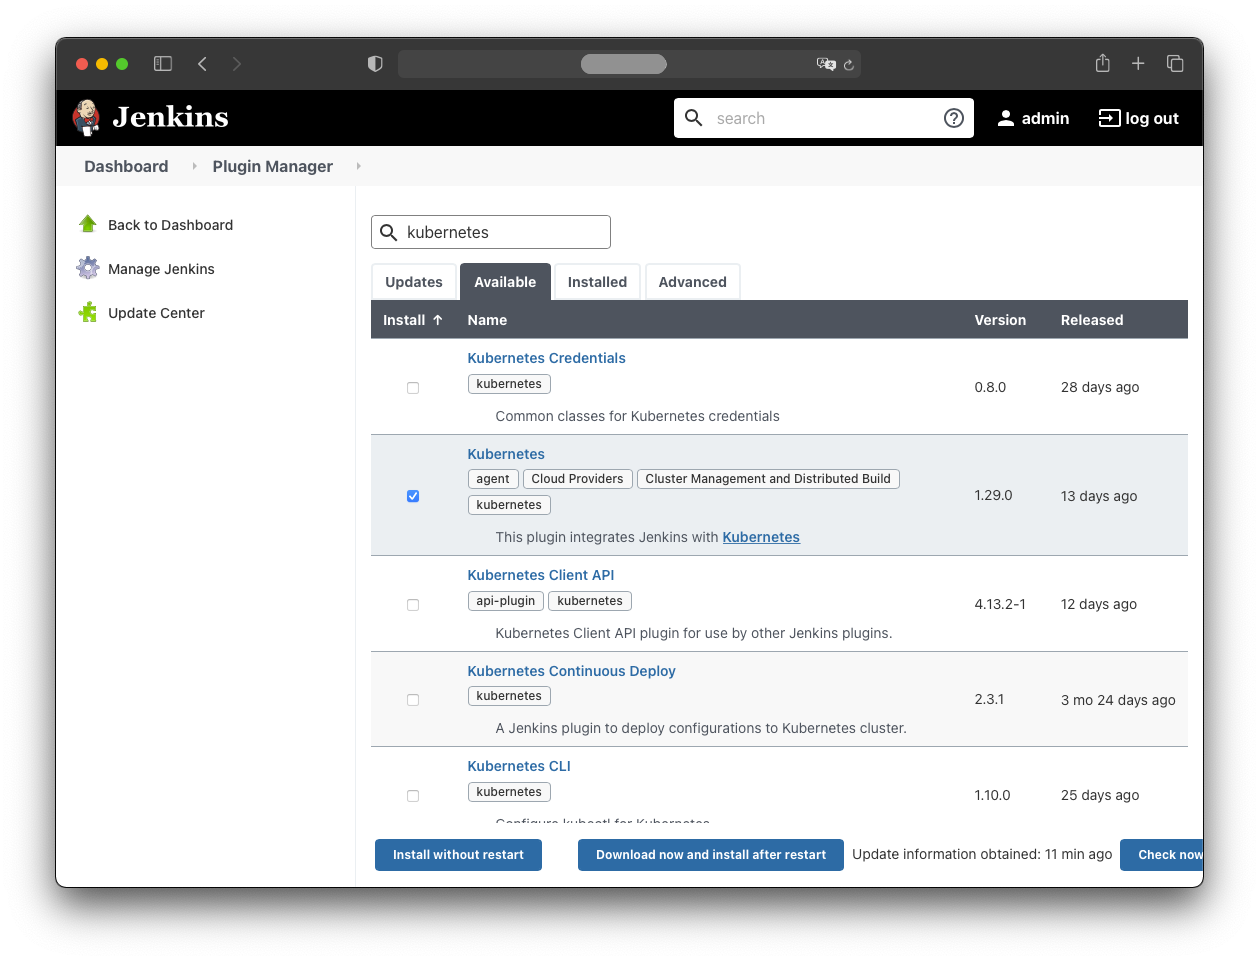
Then:
- Available
- select “Kubernetes”
- click “Install without restart”
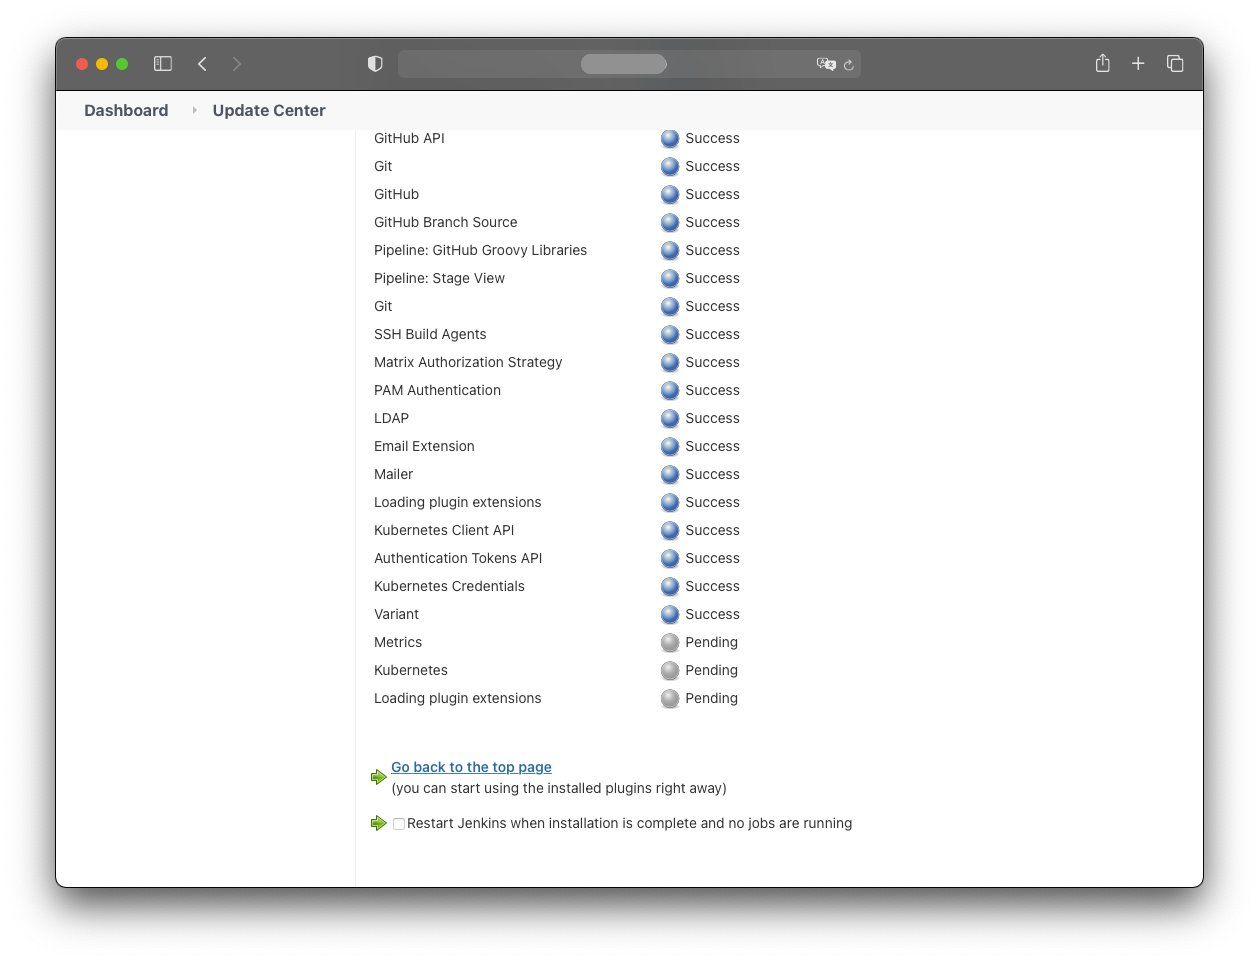
The plugin will be installed:
Adding Kubernetes Secrets
Two Kubernetes secrets (service accounts + RBAC) are needed.
The first is jenkins-robot.yaml:
apiVersion: v1
kind: ServiceAccount
metadata:
 name: jenkins-robot
 namespace: jenkins
---
apiVersion: rbac.authorization.k8s.io/v1
kind: Role
metadata:
 name: jenkins-robot
 namespace: jenkins
 labels:
 "app.kubernetes.io/name": 'jenkins'
rules:
- apiGroups: [""]
 resources: ["pods", "pods/exec", "pods/log", "persistentvolumeclaims", "events"]
 verbs: ["get", "list", "watch"]
- apiGroups: [""]
 resources: ["pods", "pods/exec", "persistentvolumeclaims", "events"]
 verbs: ["create", "apply", "delete", "deletecollection", "patch", "update"]
---
apiVersion: rbac.authorization.k8s.io/v1
kind: RoleBinding
metadata:
 name: jenkins-robot-binding
 namespace: jenkins
roleRef:
 apiGroup: rbac.authorization.k8s.io
 kind: Role
 name: jenkins-robot
subjects:
- kind: ServiceAccount
 name: jenkins-robot
 namespace: jenkins
The second is jenkins-robot-global.yaml:
apiVersion: v1
kind: ServiceAccount
metadata:
 name: jenkins-robot-global
 namespace: jenkins
---
apiVersion: rbac.authorization.k8s.io/v1
kind: ClusterRole
metadata:
 name: jenkins-robot-global
 namespace: jenkins
 labels:
 "app.kubernetes.io/name": 'jenkins'
rules:
- apiGroups: [""]
 resources: ["pods", "pods/exec", "pods/log", "persistentvolumeclaims"]
 verbs: ["get", "list", "watch"]
- apiGroups: [""]
 resources: ["pods", "pods/exec", "persistentvolumeclaims"]
 verbs: ["create", "apply", "delete", "deletecollection", "patch", "update"]
---
apiVersion: rbac.authorization.k8s.io/v1
kind: ClusterRoleBinding
metadata:
 name: jenkins-robot-global-binding
 namespace: jenkins
roleRef:
 apiGroup: rbac.authorization.k8s.io
 kind: ClusterRole
 name: jenkins-robot-global
subjects:
- kind: ServiceAccount
 name: jenkins-robot-global
 namespace: jenkins
Apply both manifests:
kubectl apply -n jenkins -f jenkins-robot.yaml
kubectl apply -n jenkins -f jenkins-robot-global.yaml
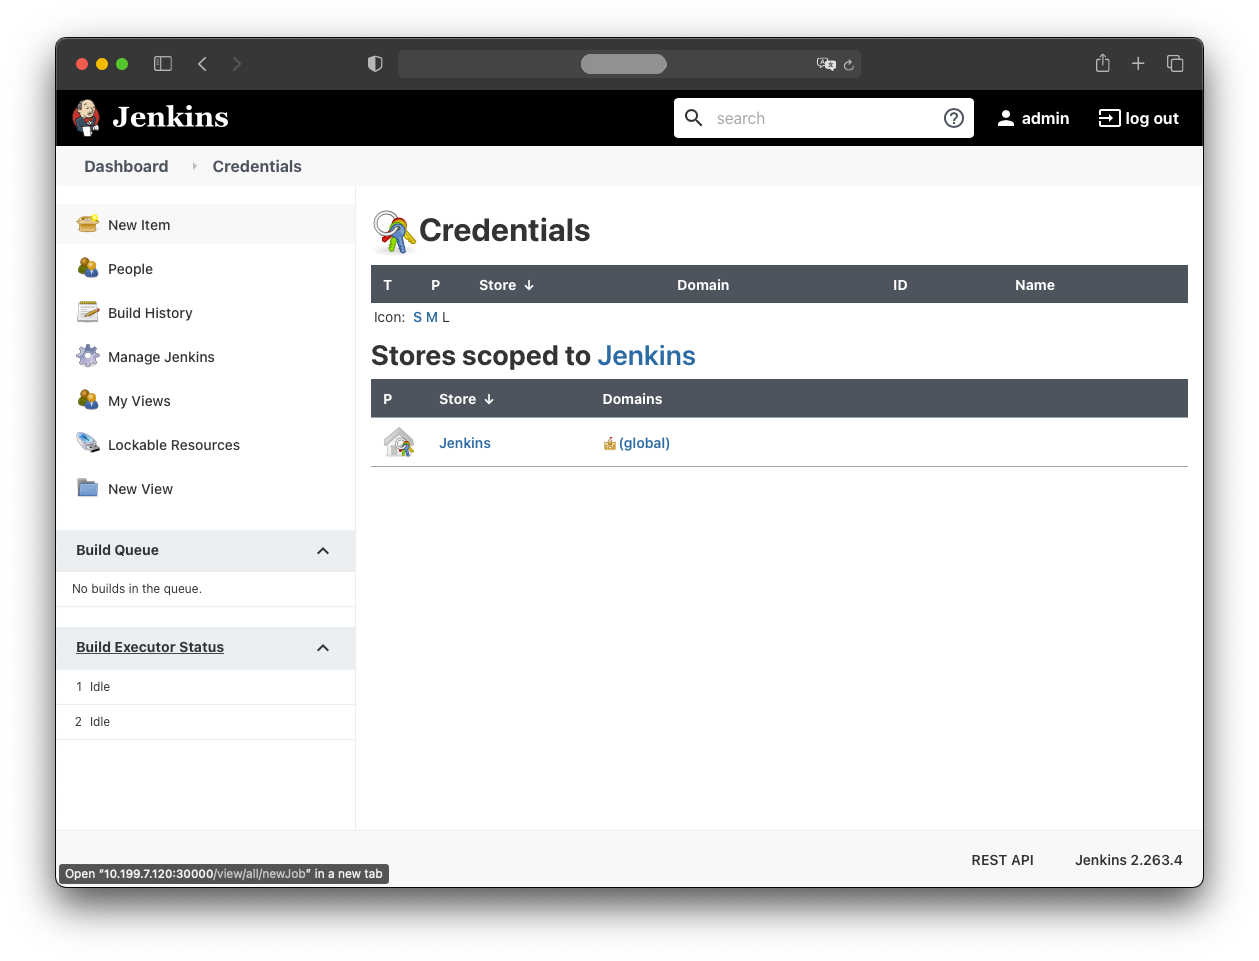
These secrets must be added to Jenkins.
Retrieve the first secret with:
kubectl -n jenkins get serviceaccount jenkins-robot --template='{{range.secrets}}{{.name}}{{"\n"}}{{end}}' | xargs -n 1 kubectl -n jenkins get secret --template='{{ if.data.token }}{{.data.token }}{{end}}' | head -n 1 | base64 -d -
Copy the resulting token to the clipboard to paste in the next step.
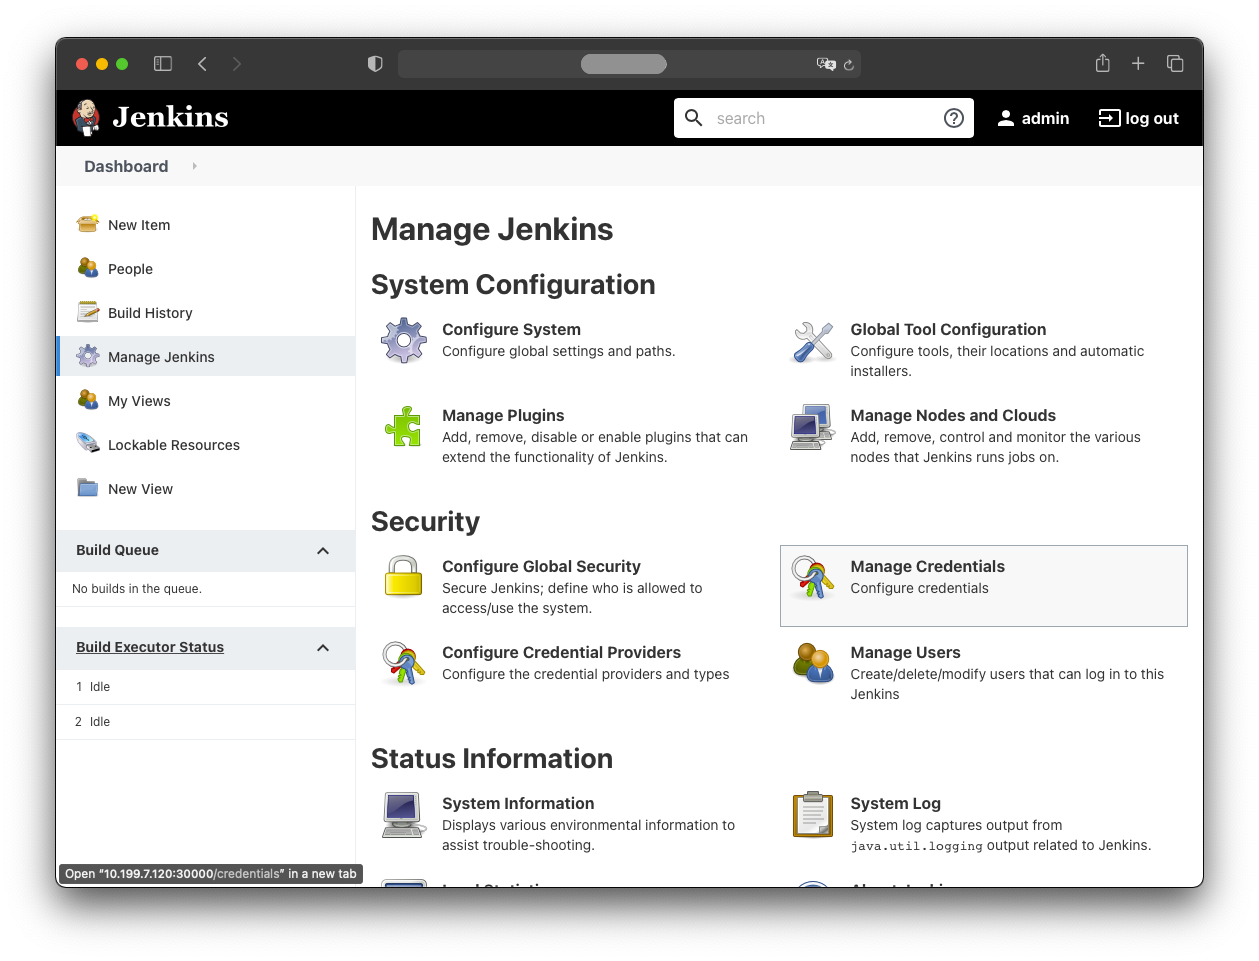
In Jenkins, create the credential via:
- Manage Jenkins
- Manage Credentials
Then click:
- New Item
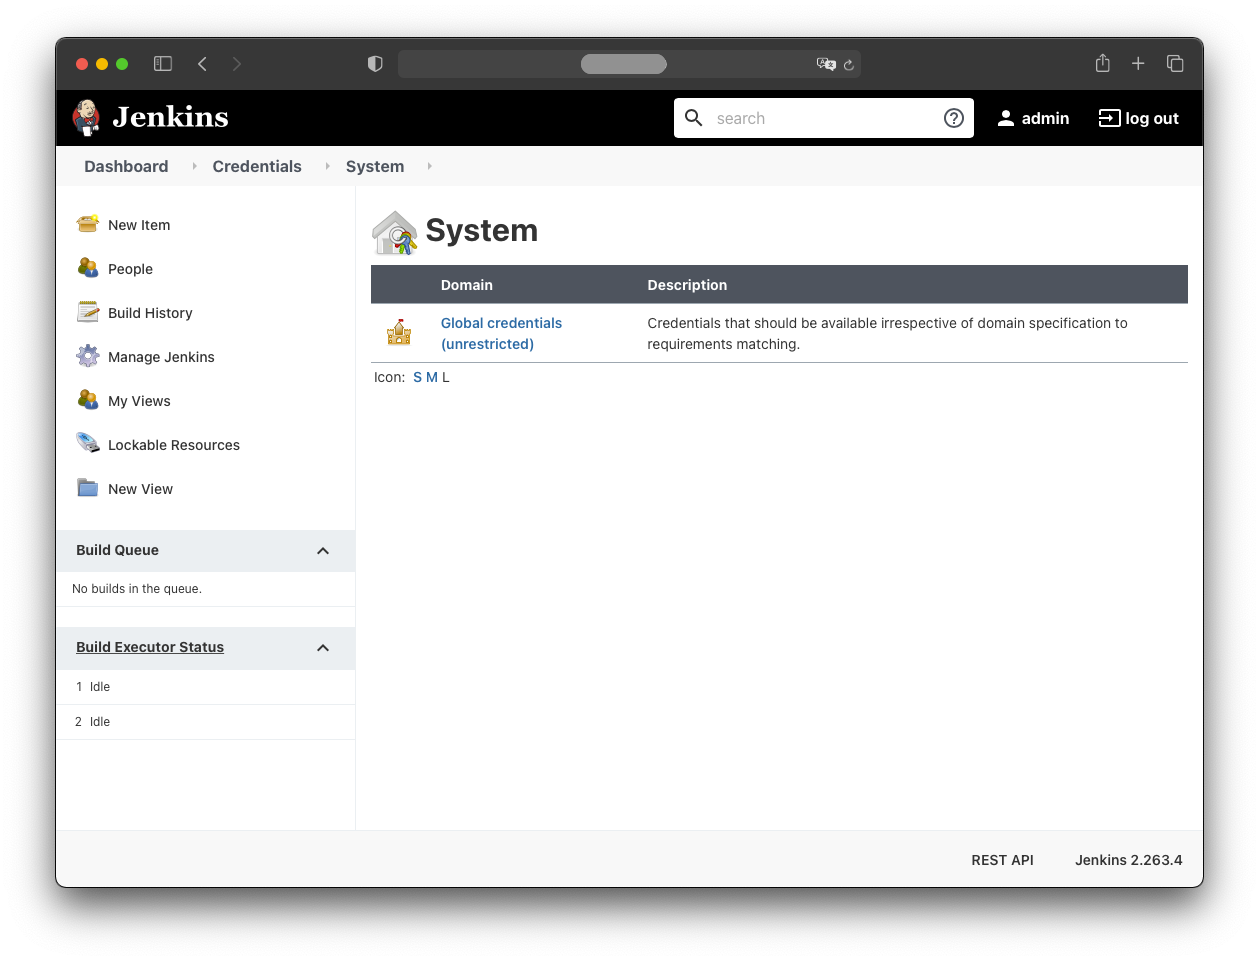
Navigate to:
- Global credentials (unrestricted)
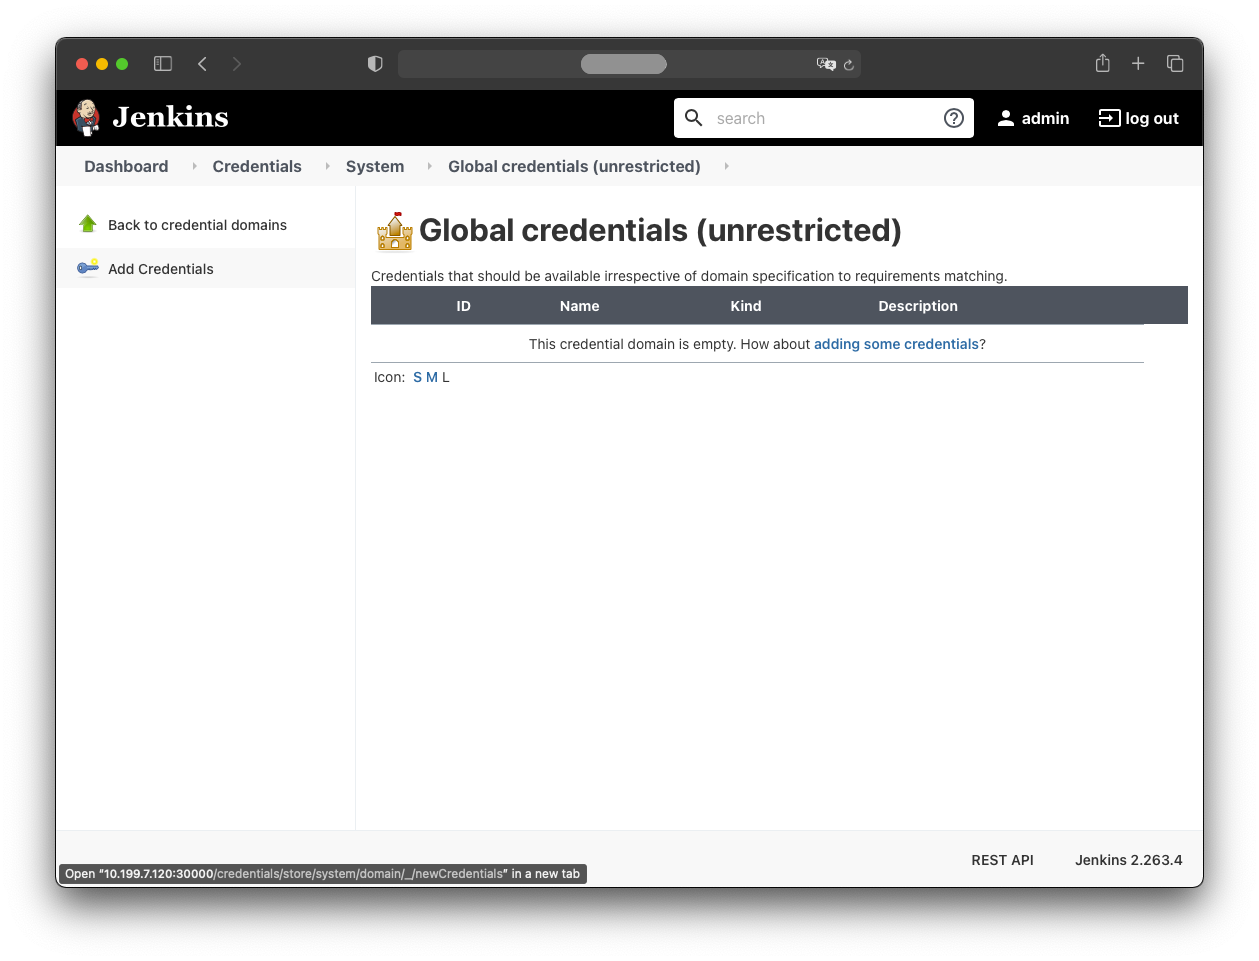
Then:
- Add credentials
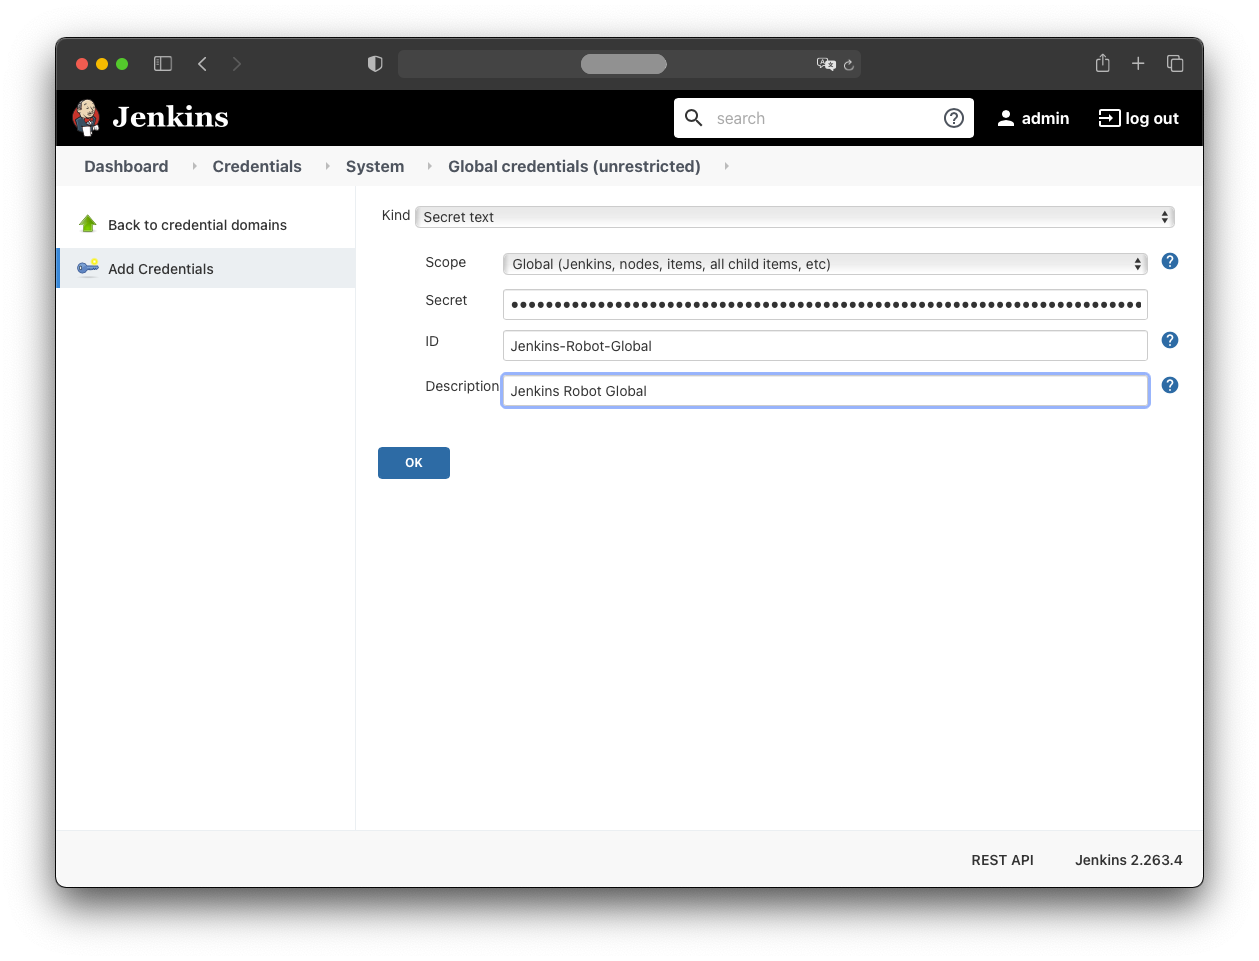
Enter these values:
- Kind: Secret text
- Scope: Global
- Secret:
<the secret from the clipboard> - ID: Jenkins-Robot

Repeat for the jenkins-robot-global secret, which can be retrieved with:
kubectl -n jenkins get serviceaccount jenkins-robot-global --template='{{range.secrets}}{{.name}}{{"\n"}}{{end}}' | xargs -n 1 kubectl -n jenkins get secret --template='{{ if.data.token }}{{.data.token }}{{end}}' | head -n 1 | base64 -d -
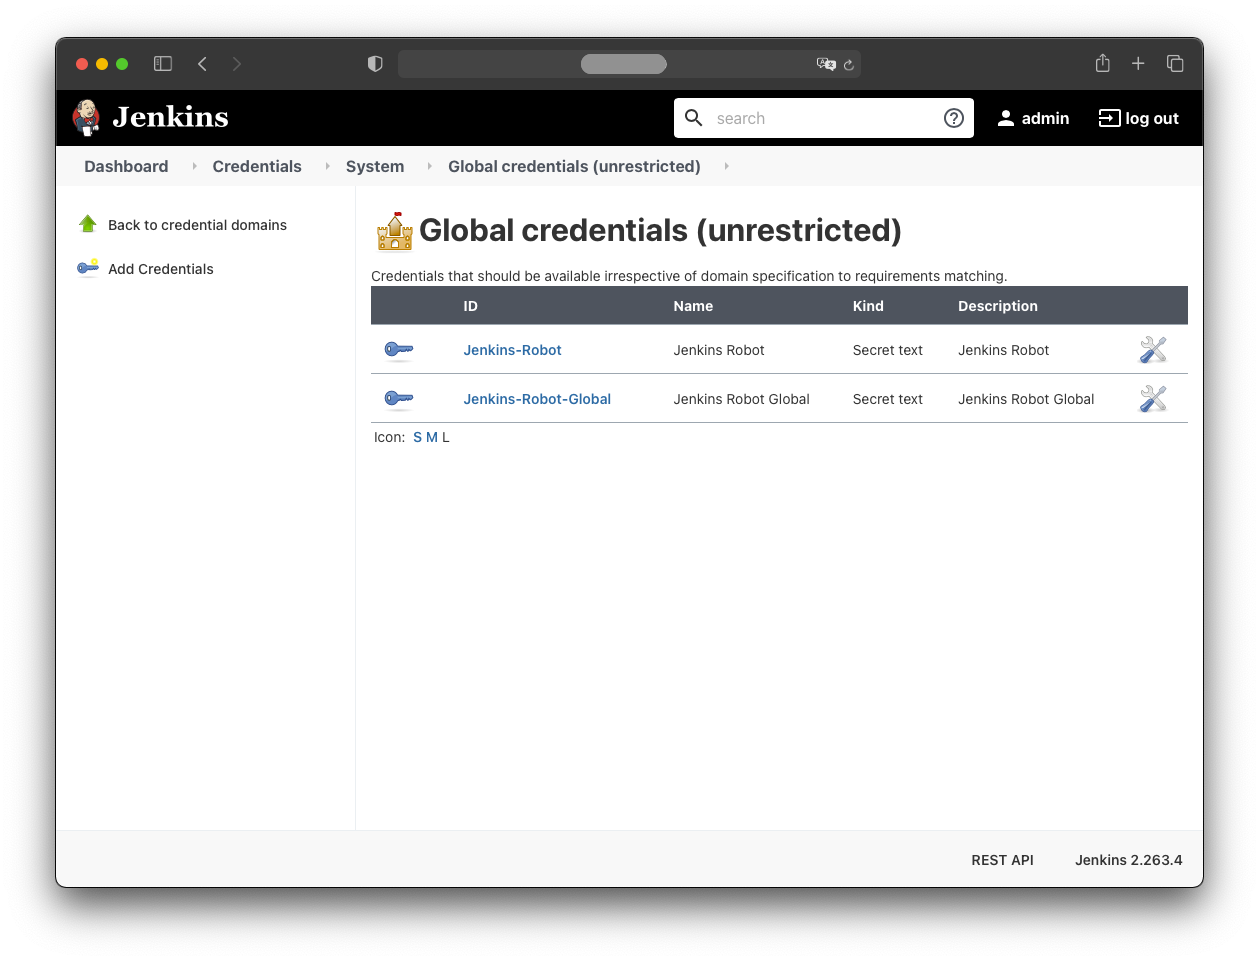
Both credentials should now appear in Jenkins:
Adding the Kubernetes Cloud to Jenkins
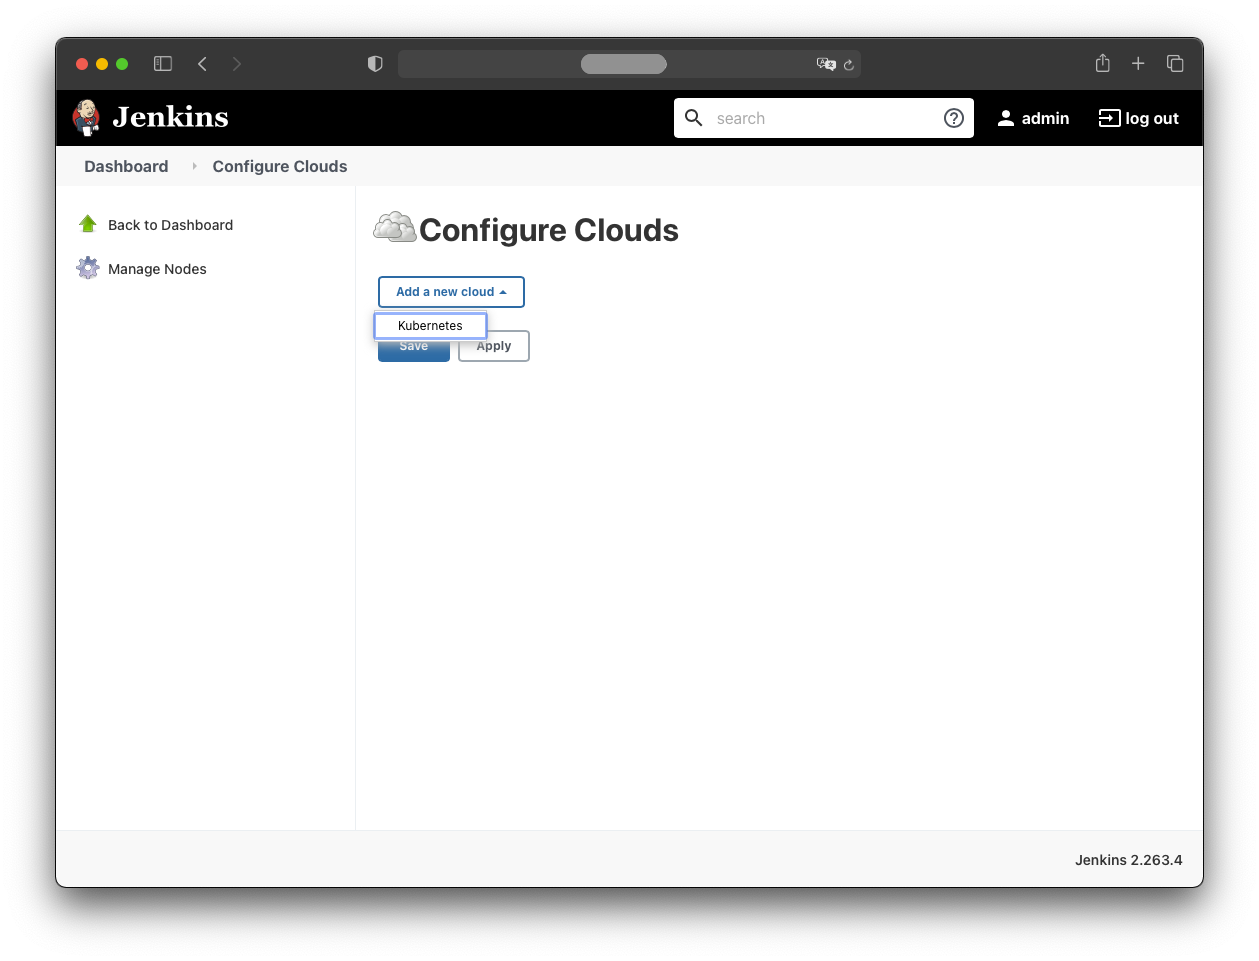
Jenkins must be configured with the Kubernetes cluster it will use. Add the Kubernetes cloud via:
- Manage Jenkins
- Manage Nodes and Clouds
- Configure Clouds
- Add a new cloud: Kubernetes
Under “Kubernetes Cloud Details” provide:
- Name: Kubernetes
- Kubernetes URL:
https://<k8s-master-ip>:6443 - Kubernetes Namespace: jenkins
- Credentials: Jenkins-Robot
- Jenkins Tunnel:
<ip>:50000
The cluster master node IP can be found with:
kubectl get nodes -o wide | grep master
The IP for the Jenkins tunnel is the IP of the jenkins-jnlp service:
kubectl get service jenkins-jnlp -n jenkins
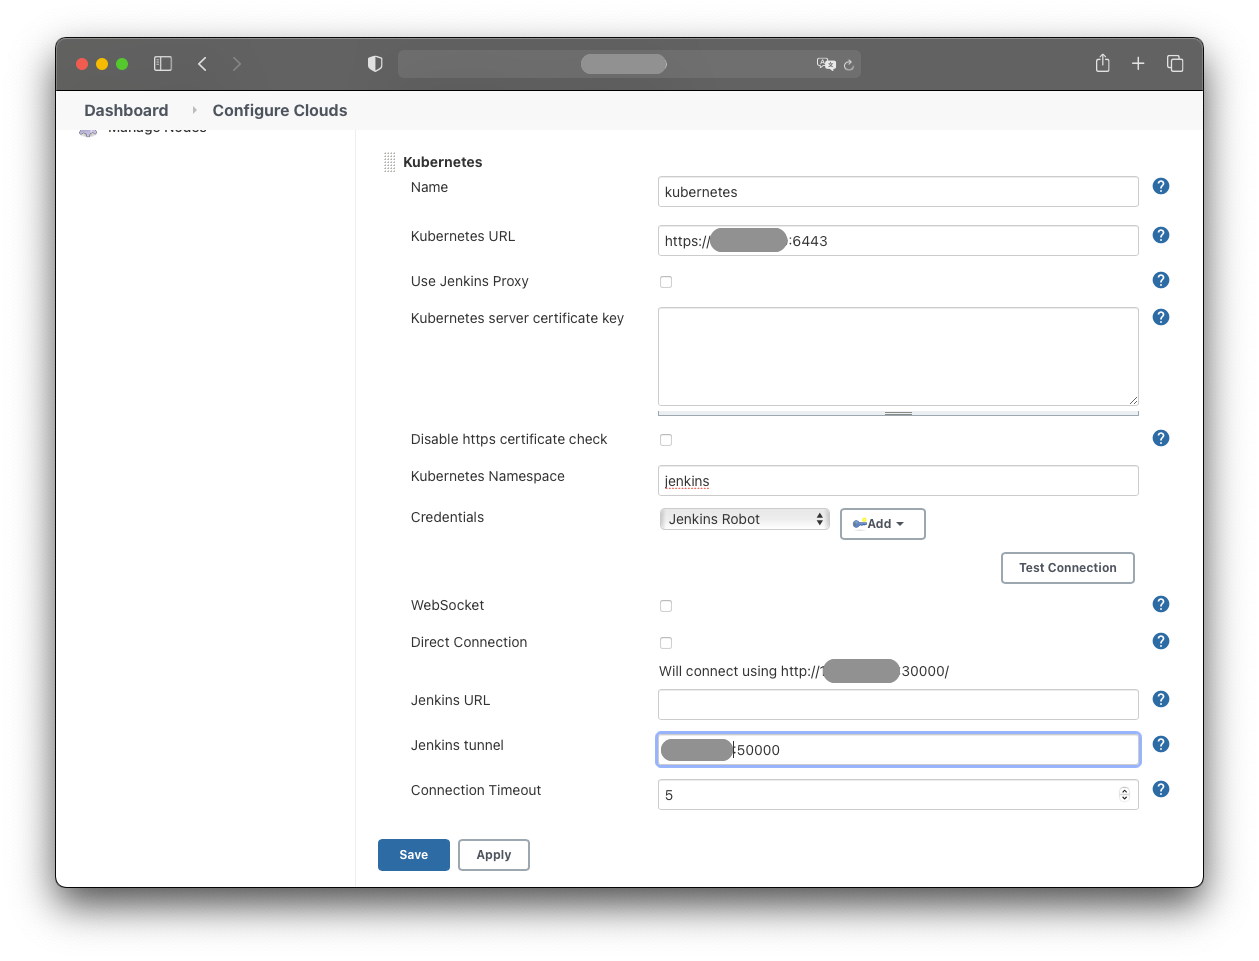
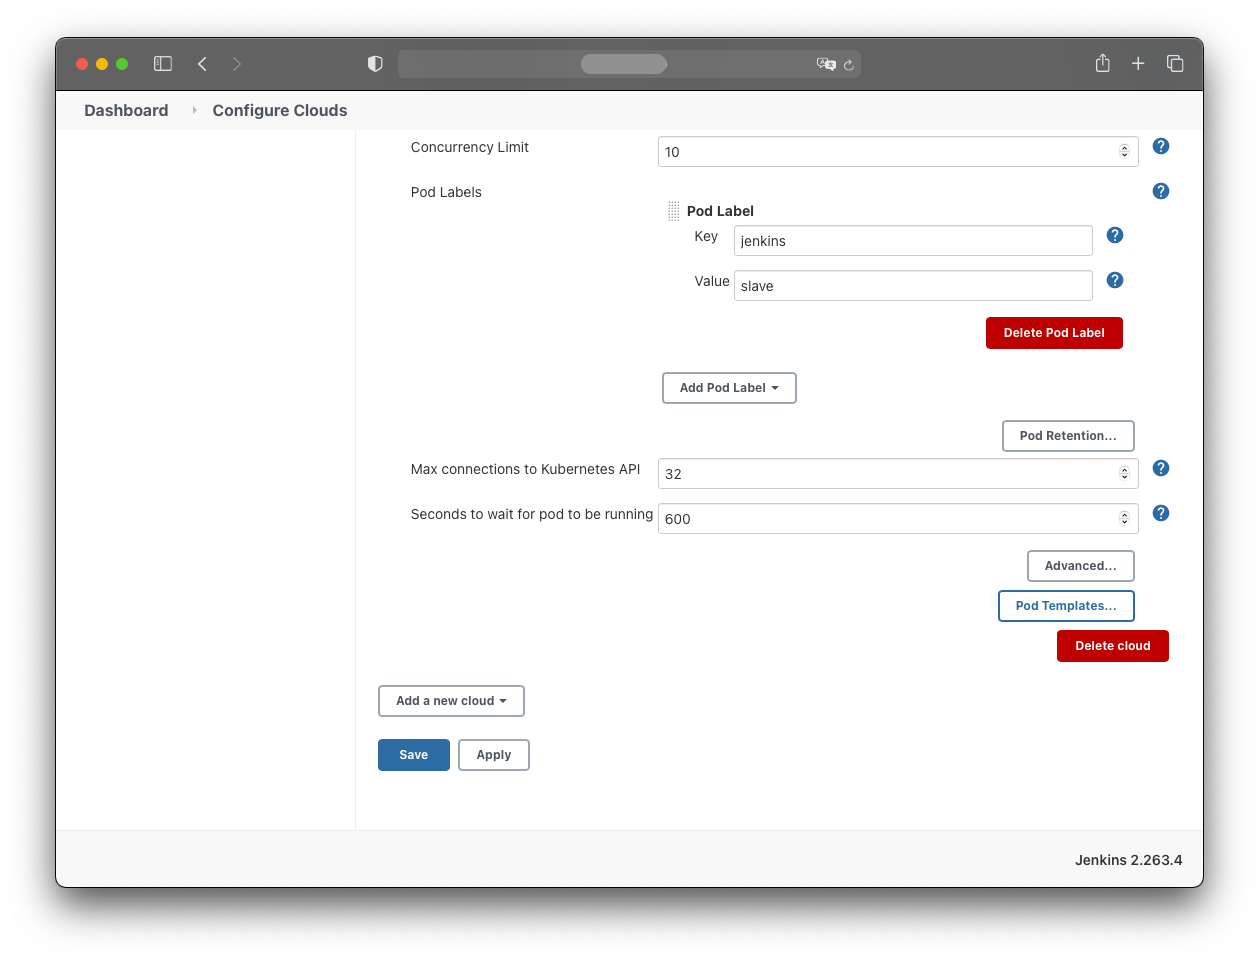
Leave the remaining values at their defaults:
Test the connection with the “Test Connection” button.
Adding Pod and Container Templates
Configure the Pod template as follows:
Pod Template:
- Name: jnlp
- Usage: Use this node as much as possible
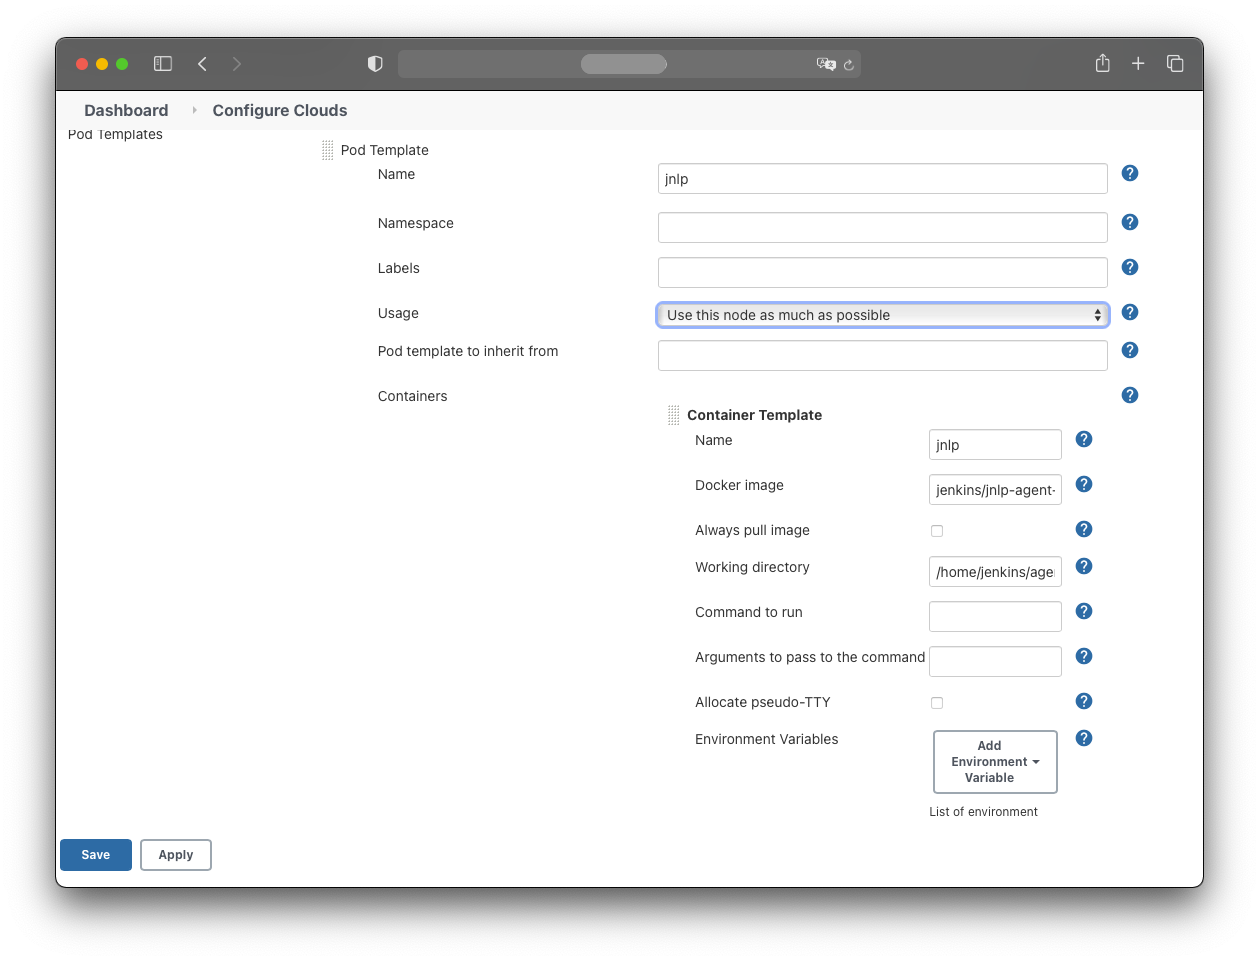
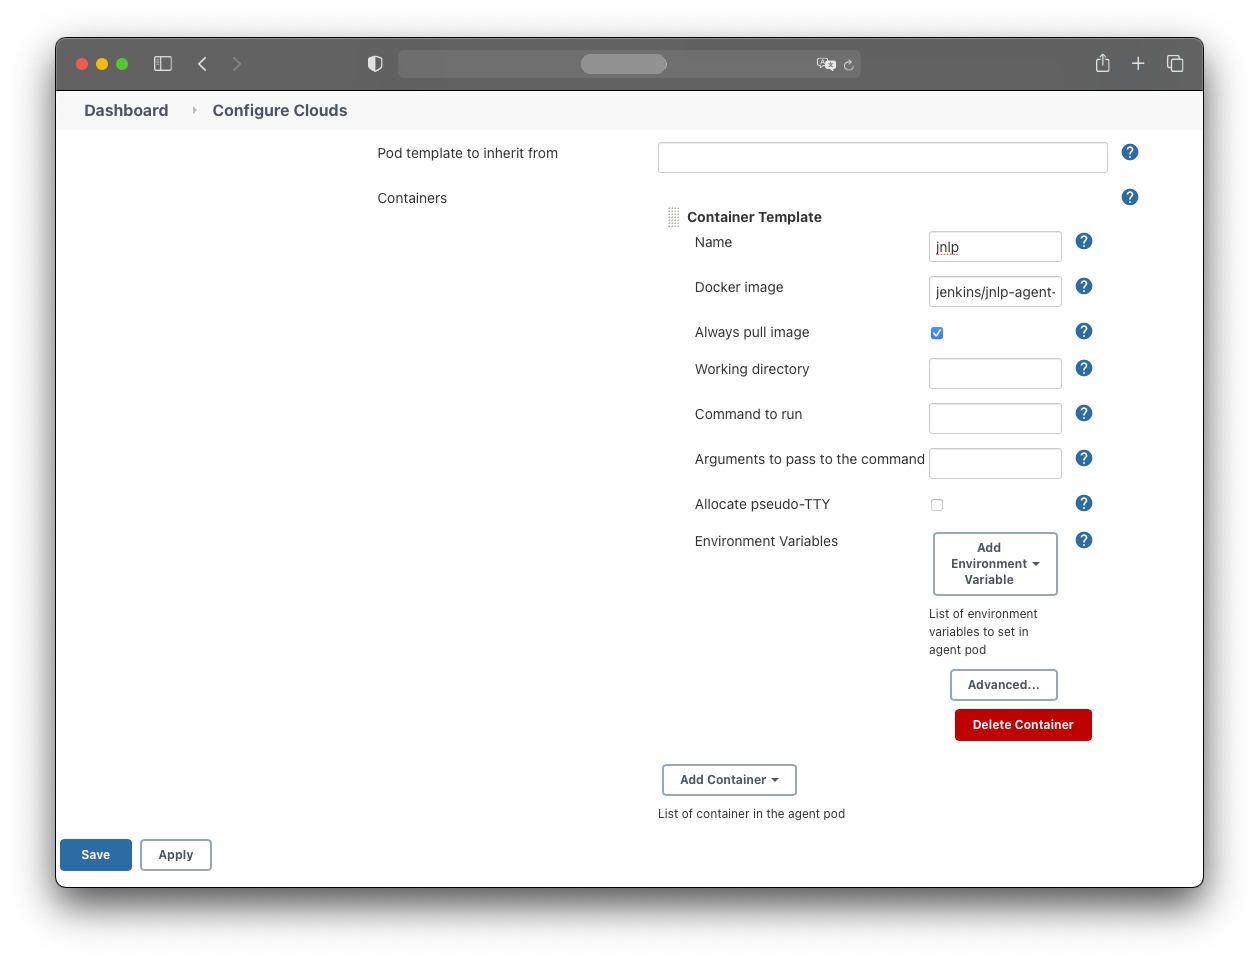
For this tutorial, the agent containers use the jenkins/jnlp-agent-alpine image:
- Name: jnlp
- Docker image: jenkins/jnlp-agent-alpine
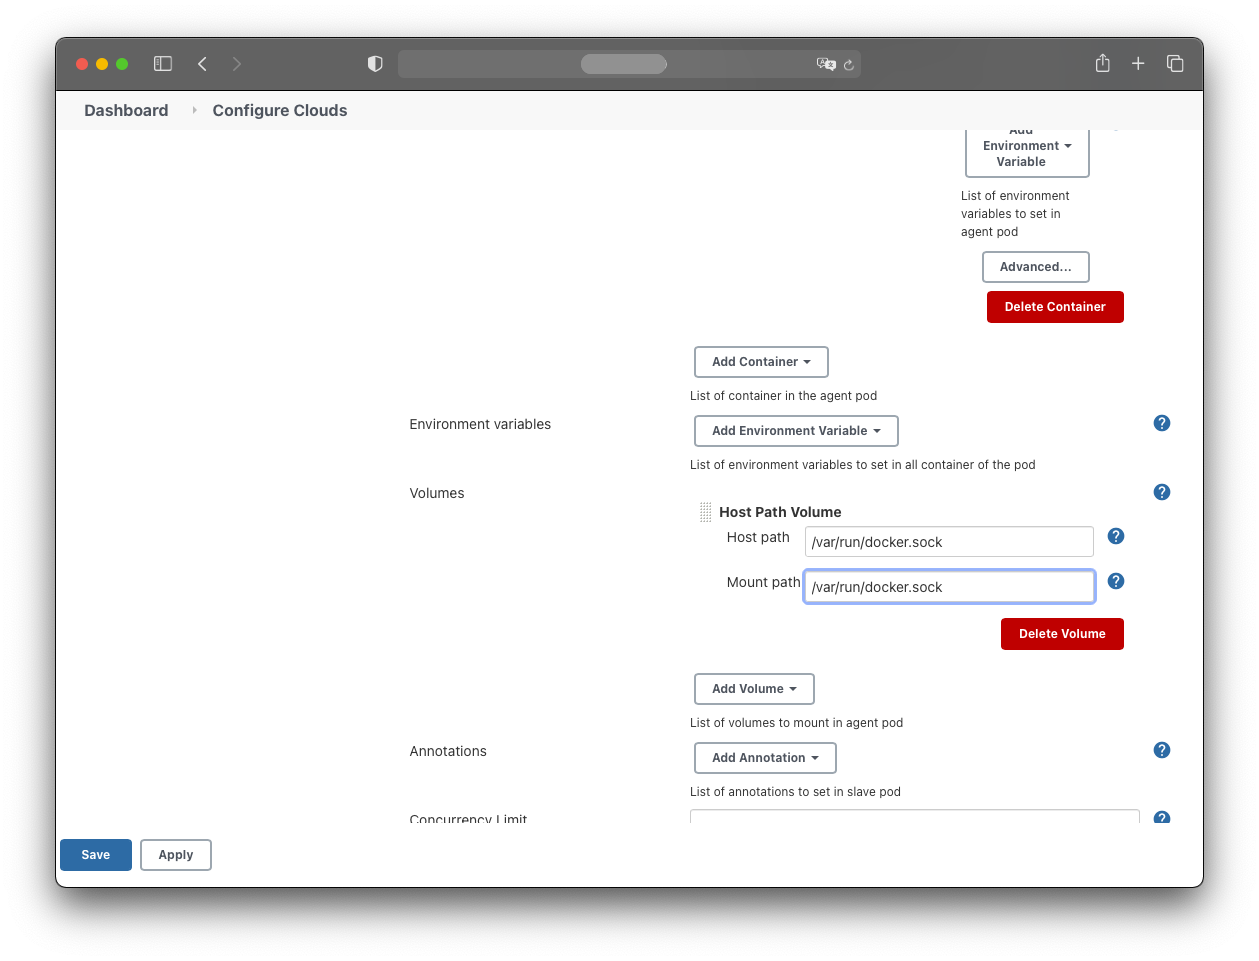
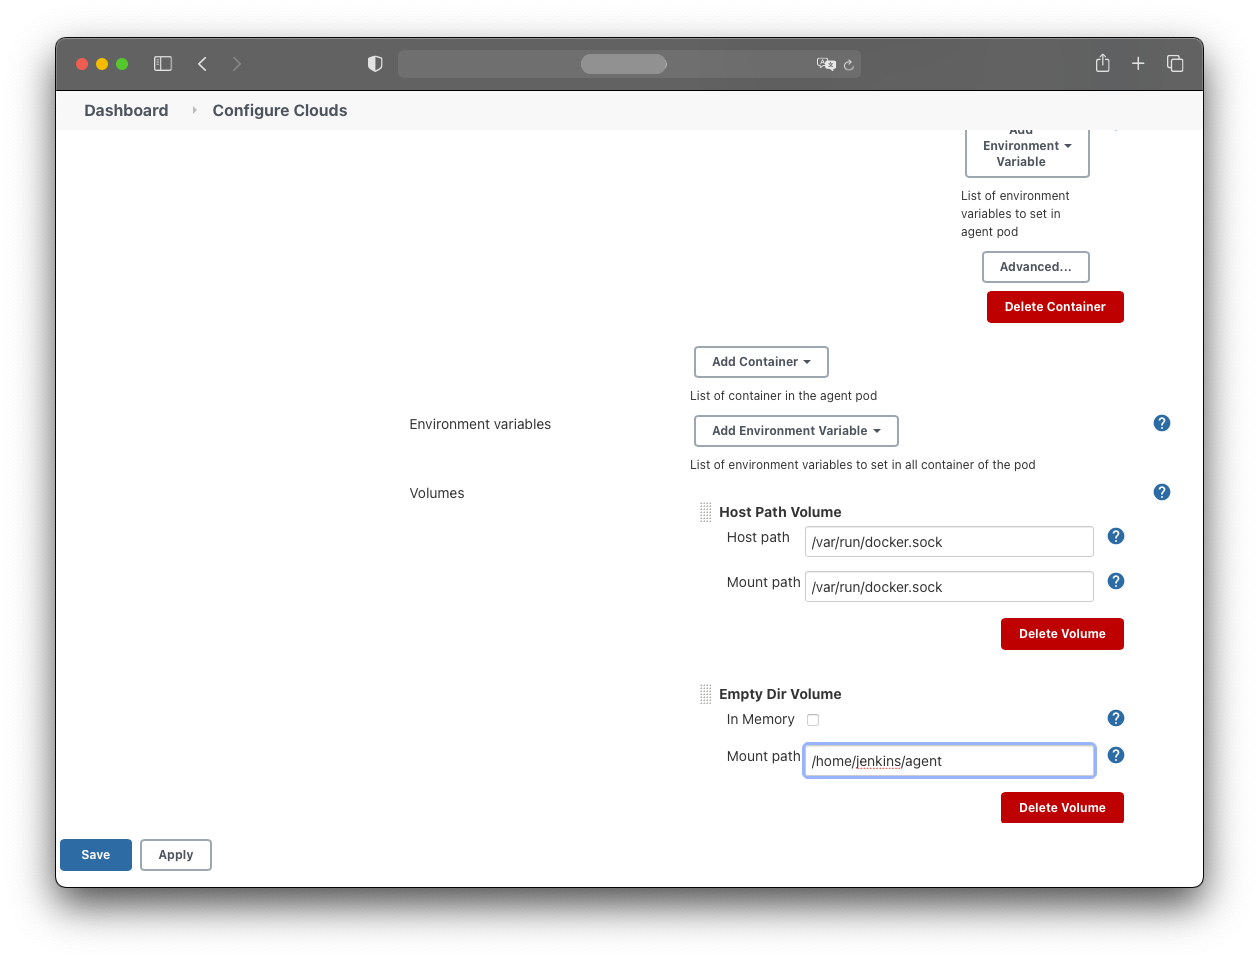
Add a HostPath volume:
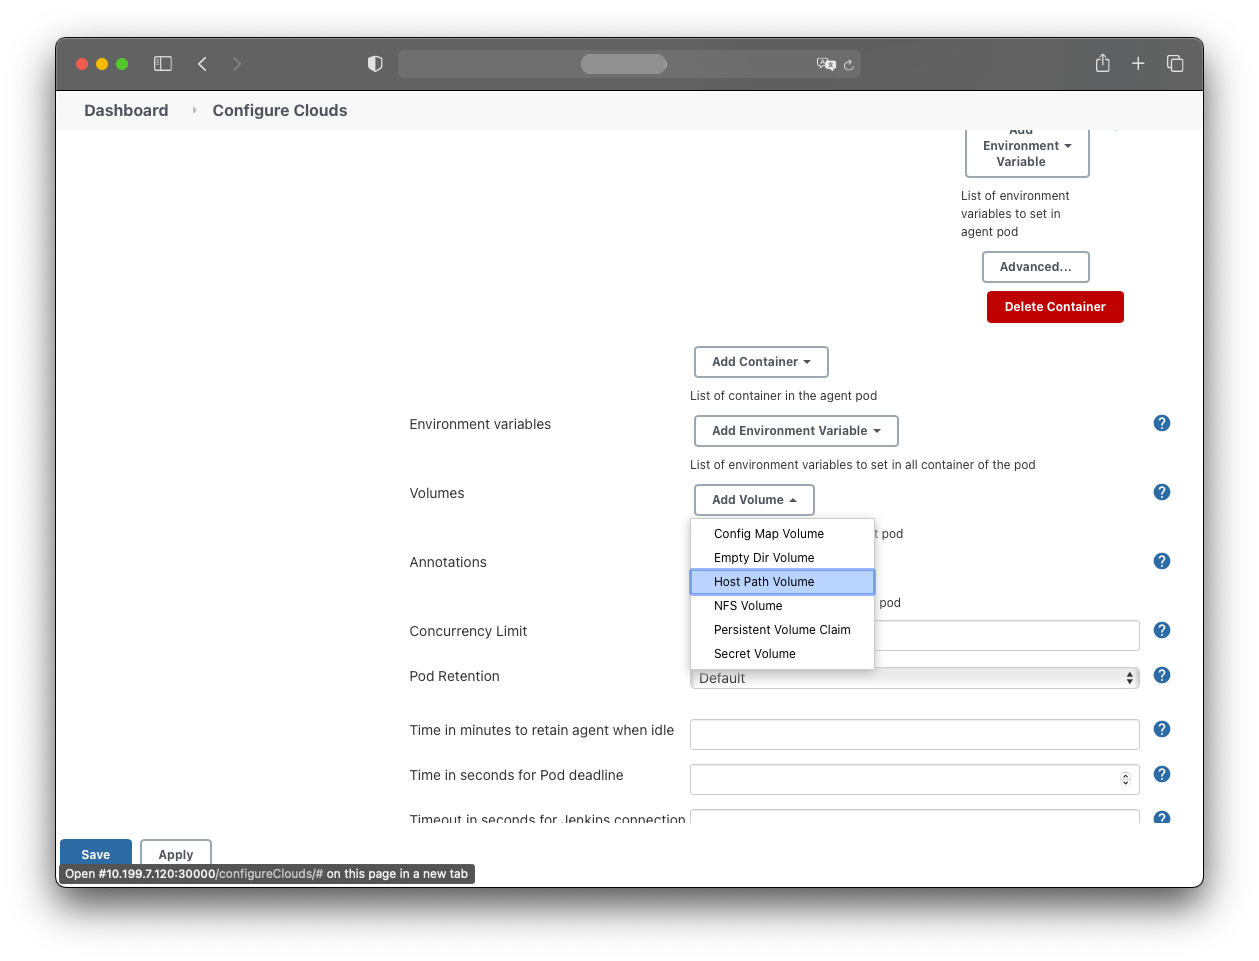
- Host path: /var/run/docker.sock
- Mount path: /var/run/docker.sock
Add an EmptyDir volume:
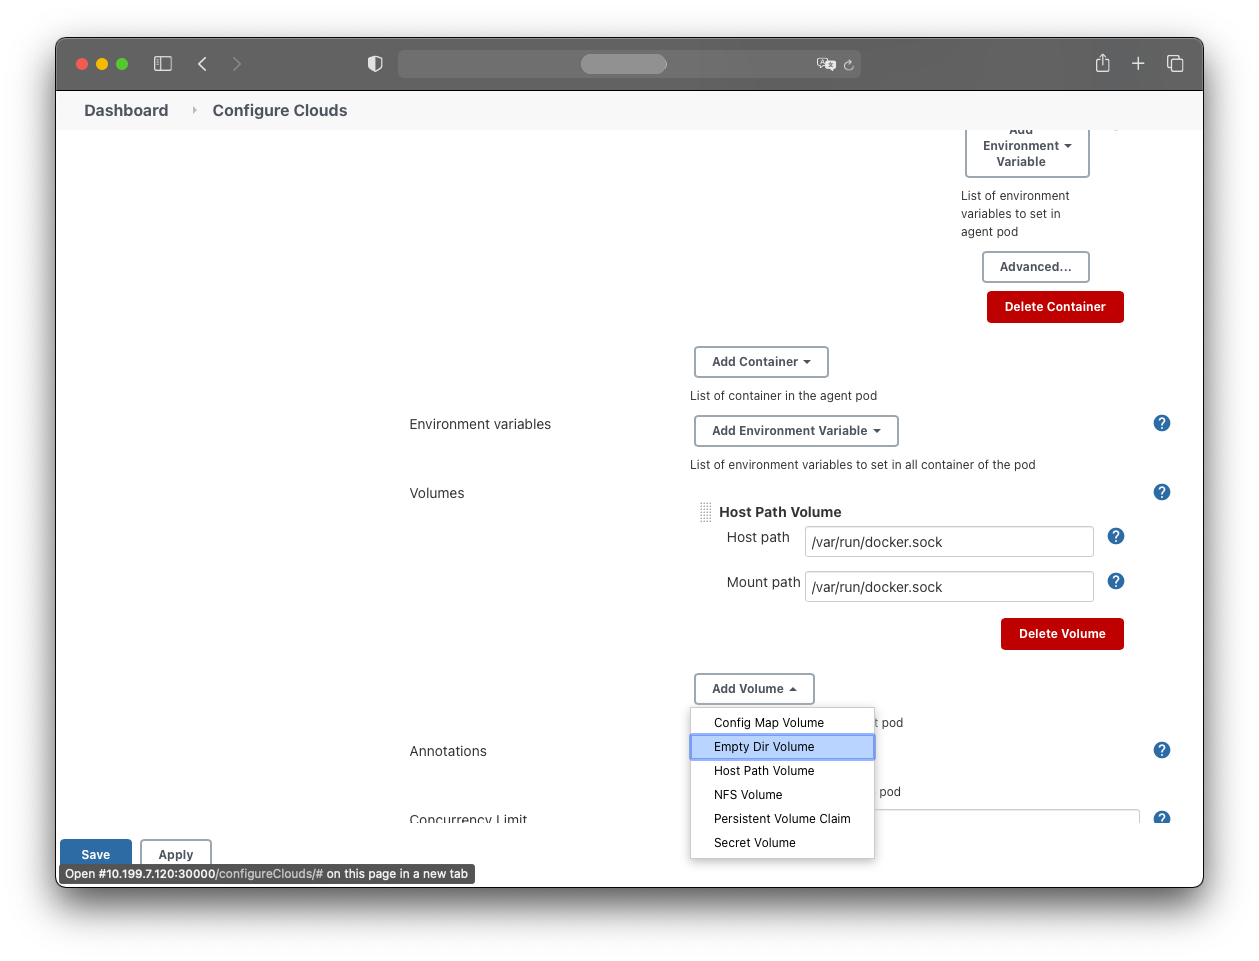
- Mount path: /home/jenkins/agent
Save the configuration.
Finally, configure Jenkins so only agent nodes run build jobs:
- Manage Jenkins
- Manage Nodes and Clouds
- master
- Configure
Set:
- Number of executors: 0
- Usage: Only build jobs with label expressions matching this node
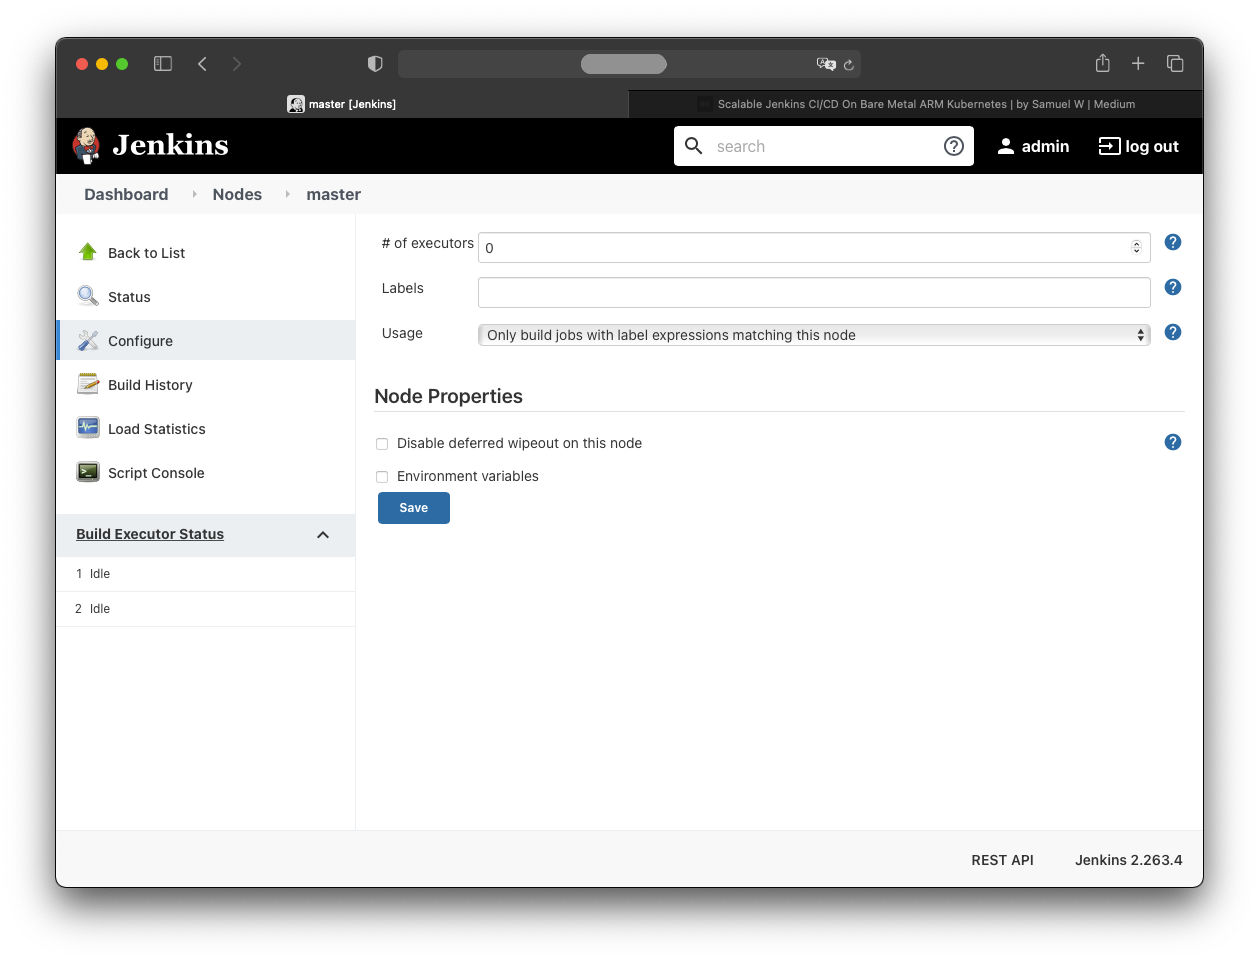
Save.
Testing the Pod Build Agents
Trigger both build jobs simultaneously. You should see two pods launched under “Build Executor Status”.
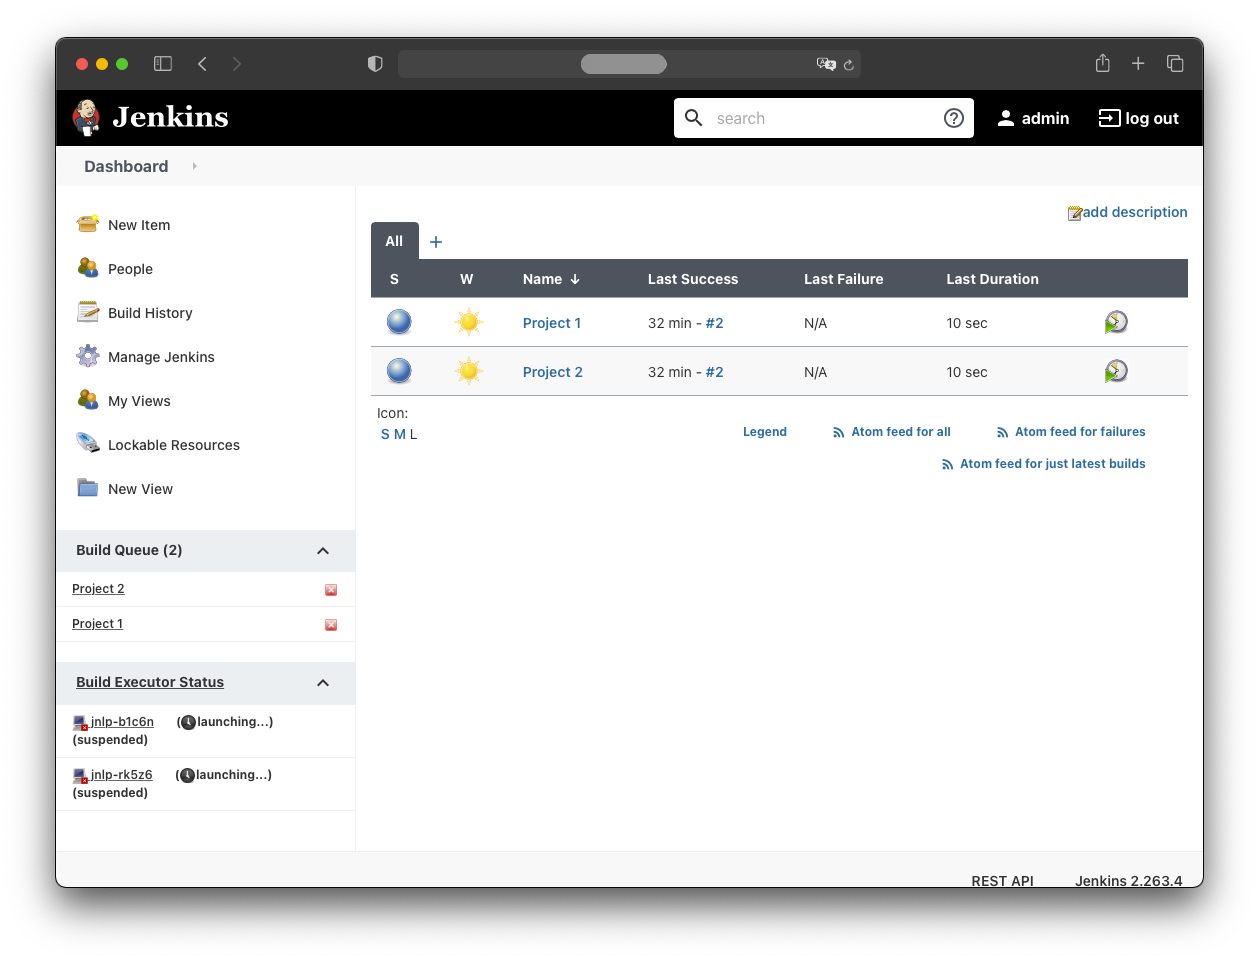
When the pods are running, the jobs execute inside them:
