This post is a tutorial on how to set up a Jenkins instance running on Kubernetes.
There is also a previous tutorial on how to set up a Kubernetes cluster with K3s.
Jenkins Installation
As a first step, a namespace is created. All Jenkins-related resources will be applied to it:
kubectl create namespace jenkins
A PersistentVolumeClaim is also required in a file called jenkins-pvc.yaml:
kind: PersistentVolumeClaim
apiVersion: v1
metadata:
 name: jenkins-claim
 namespace: jenkins
spec:
 storageClassName: local-path
 accessModes:
 - ReadWriteOnce
 resources:
 requests:
  storage: 1Gi
This is applied with:
kubectl create -f jenkins-pvc.yaml -n jenkins
The deployment has to be added to the file jenkins-deployment.yaml:
apiVersion: apps/v1
kind: Deployment
metadata:
 name: jenkins-deployment
spec:
 replicas: 1
 selector:
 matchLabels:
  app: jenkins
 template:
 metadata:
  labels:
  app: jenkins
 spec:
  containers:
  - name: jenkins
  image: jenkins/jenkins:lts
  ports:
   - name: http-port
   containerPort: 8080
   - name: jnlp-port
   containerPort: 50000
  volumeMounts:
   - name: jenkins-vol
   mountPath: /var/jenkins_vol
  volumes:
  - name: jenkins-vol
   persistentVolumeClaim:
   claimName: jenkins-claim
The deployment is applied with:
kubectl create -f jenkins-deployment.yaml -n jenkins
Now, there should be one pod running the Jenkins instance. This can be checked with:
kubectl get pods -n jenkins
In a file jenkins-service.yaml two services will be added: one for the Jenkins instance itself and another for JNLP, which is needed for the agent nodes:
apiVersion: v1
kind: Service
metadata:
 name: jenkins
spec:
 type: NodePort
 ports:
 - port: 8080
  targetPort: 8080
  nodePort: 30000
 selector:
 app: jenkins

---

apiVersion: v1
kind: Service
metadata:
 name: jenkins-jnlp
spec:
 type: ClusterIP
 ports:
 - port: 50000
  targetPort: 50000
 selector:
 app: jenkins
Both services will be applied with:
kubectl create -f jenkins-service.yaml --namespace jenkins
Also here it is good to check if everything worked:
kubectl get services --namespace jenkins
To access the Jenkins instance, the IP of the node and the NodePort service port number are needed. The nodes’ IP addresses are:
kubectl get nodes -o wide
Then, to get the NodePort service port:
kubectl get svc -n jenkins
Finally, the running Jenkins instance:
Jenkins Configuration
Now that the instance is up and running, it needs to go through some configuration steps.
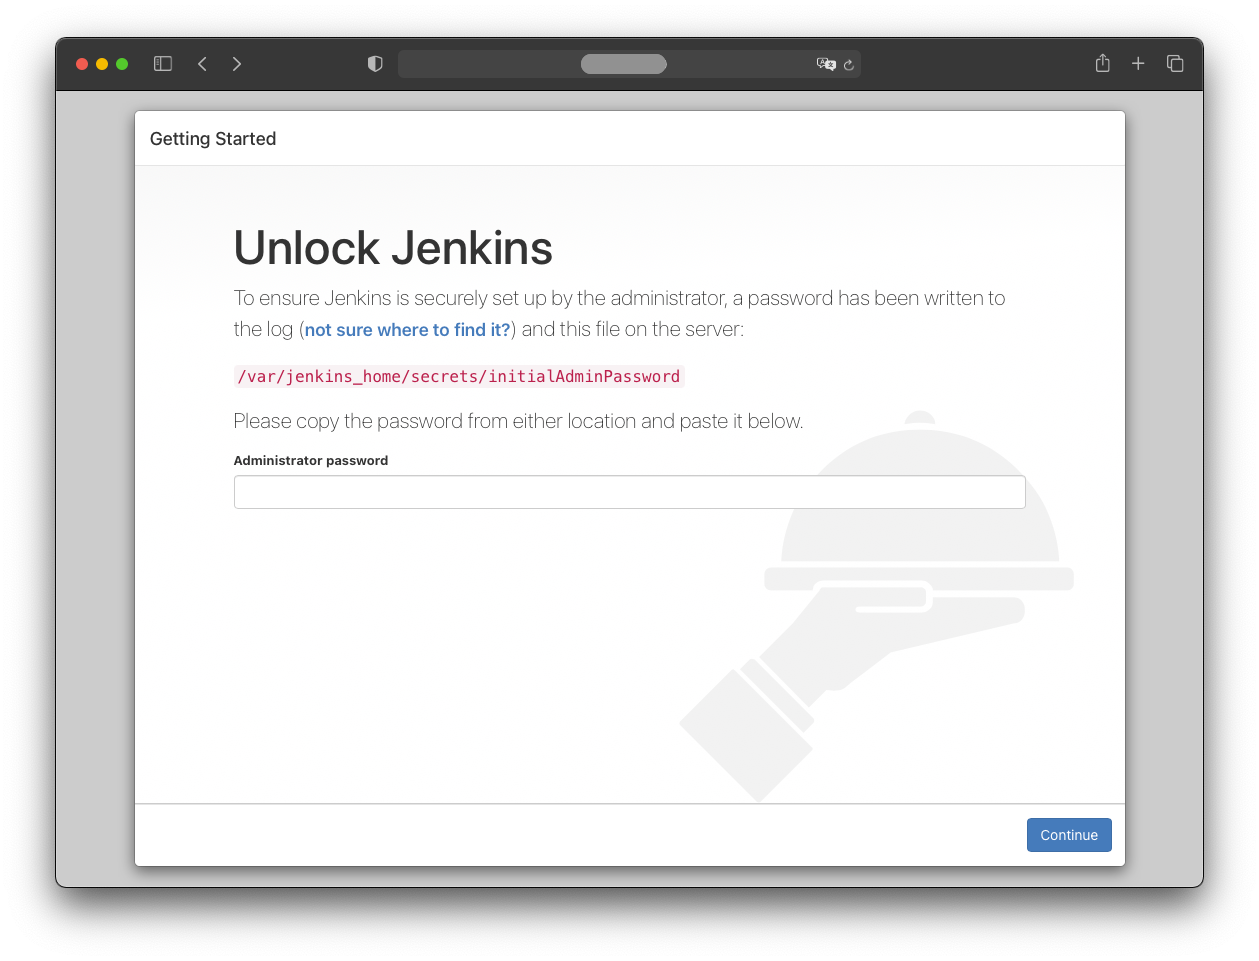
First, retrieve the initial password from the pod logs. The pod name can be determined by:
kubectl get pods -n jenkins
Then, to access the logs, run:
kubectl logs -n jenkins <jenkins-pod-name>
The password shown in the logs should be copied into the browser to continue with the “Continue” button.
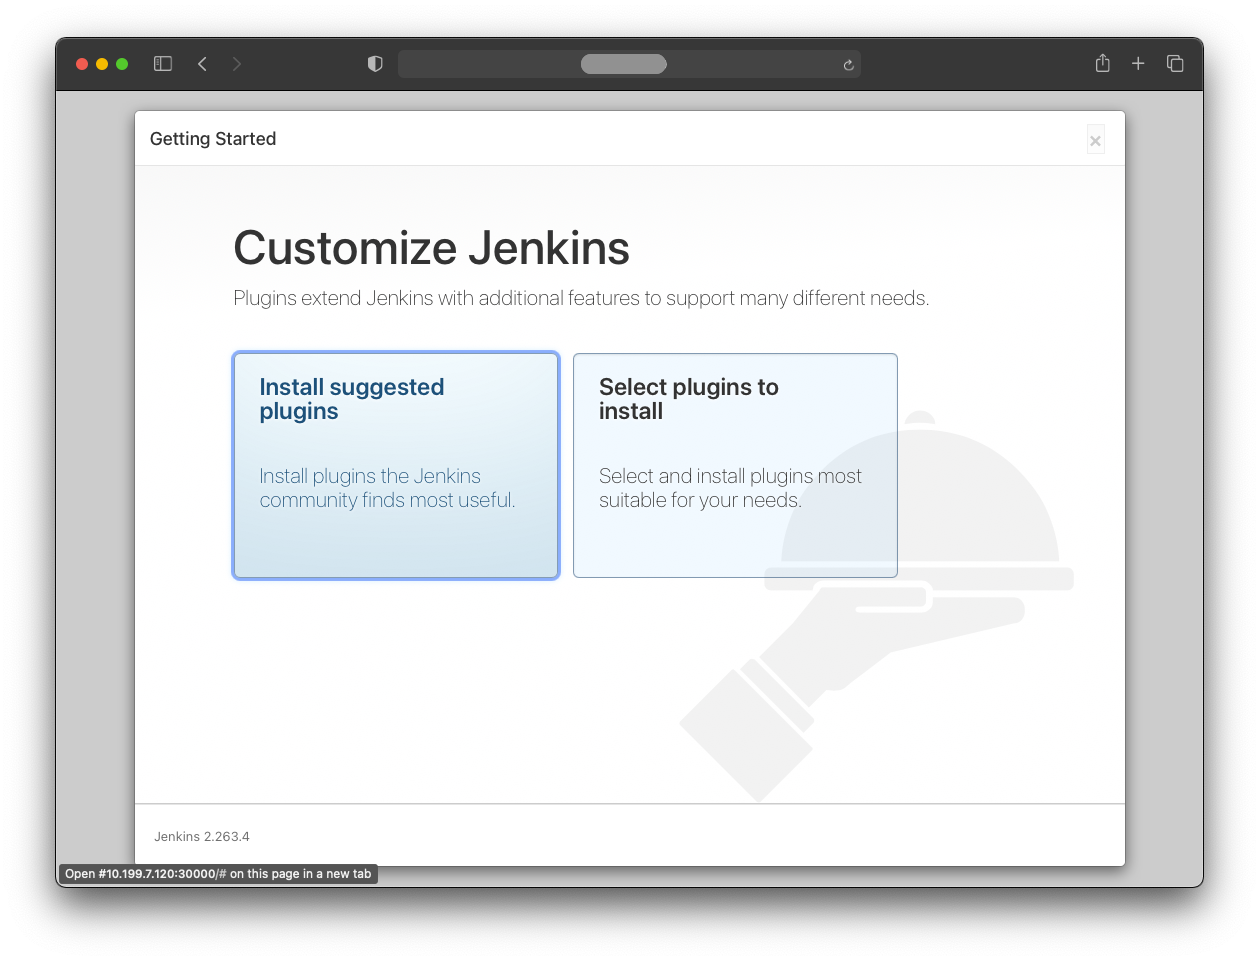
In the next step, some plugins need to be installed by pressing “Install suggested plugins”.
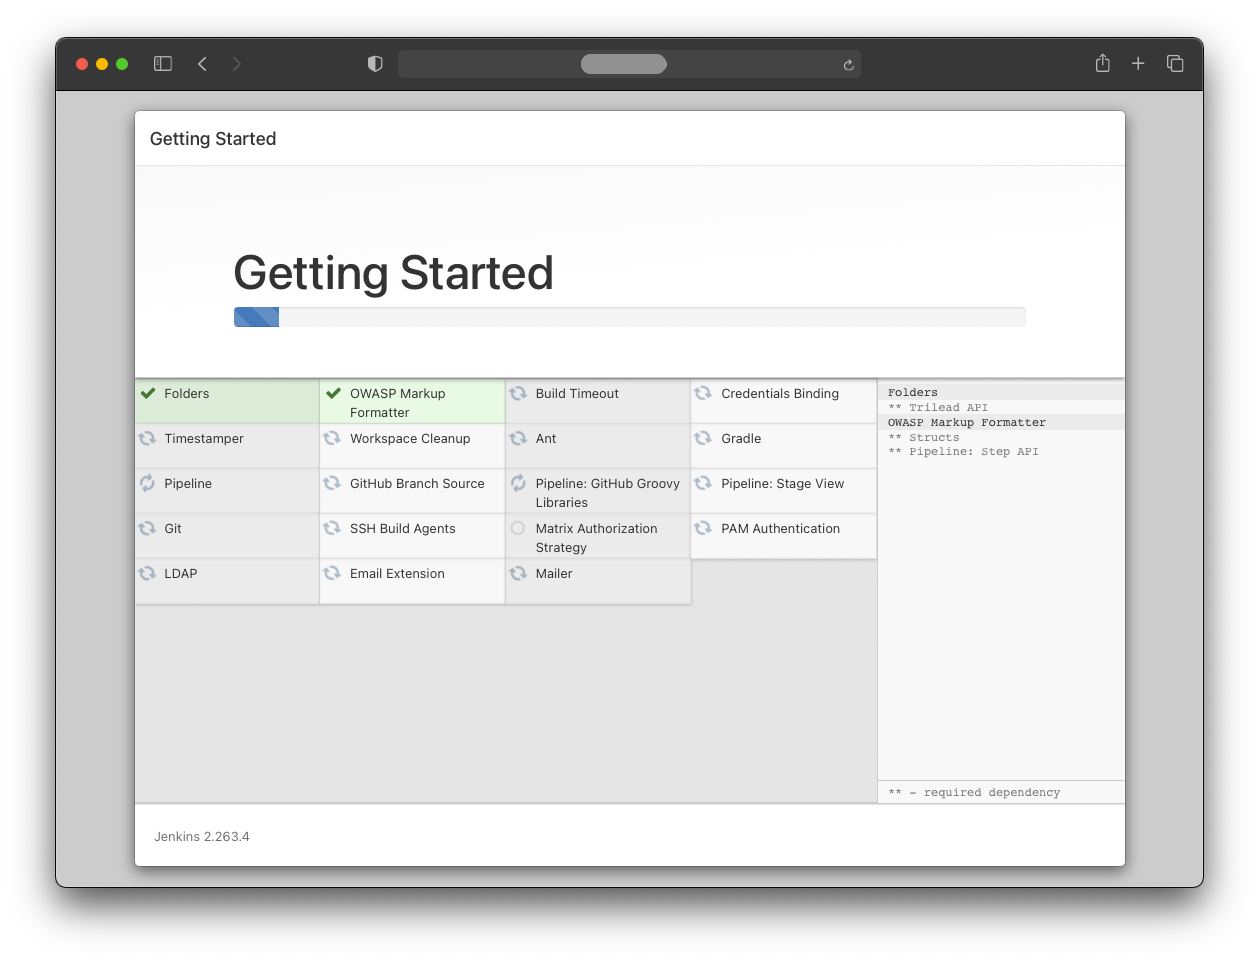
All suggested plugins are installed automatically.

To continue as admin with the initial password, press the “Skip and continue as admin” button.
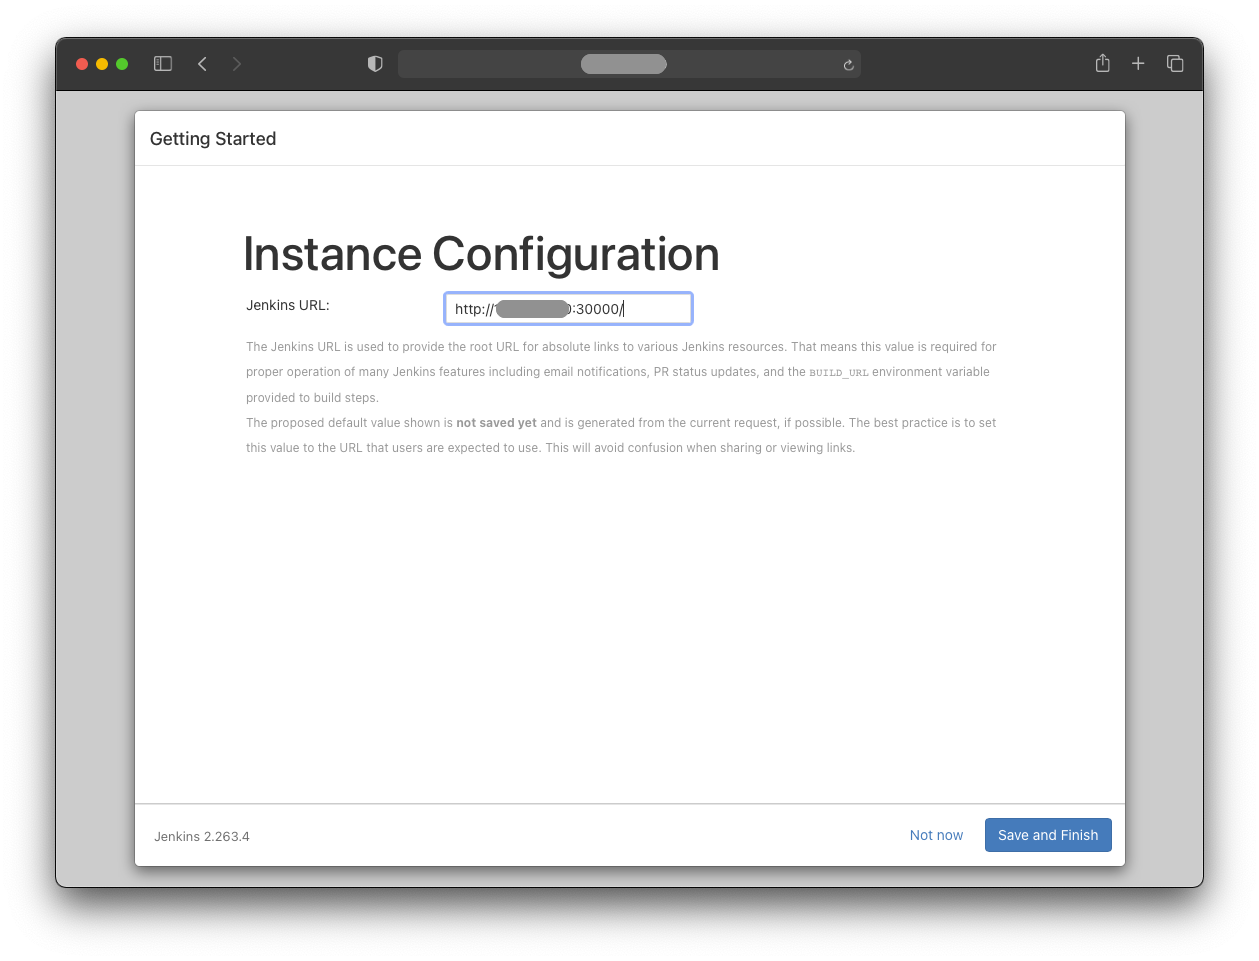
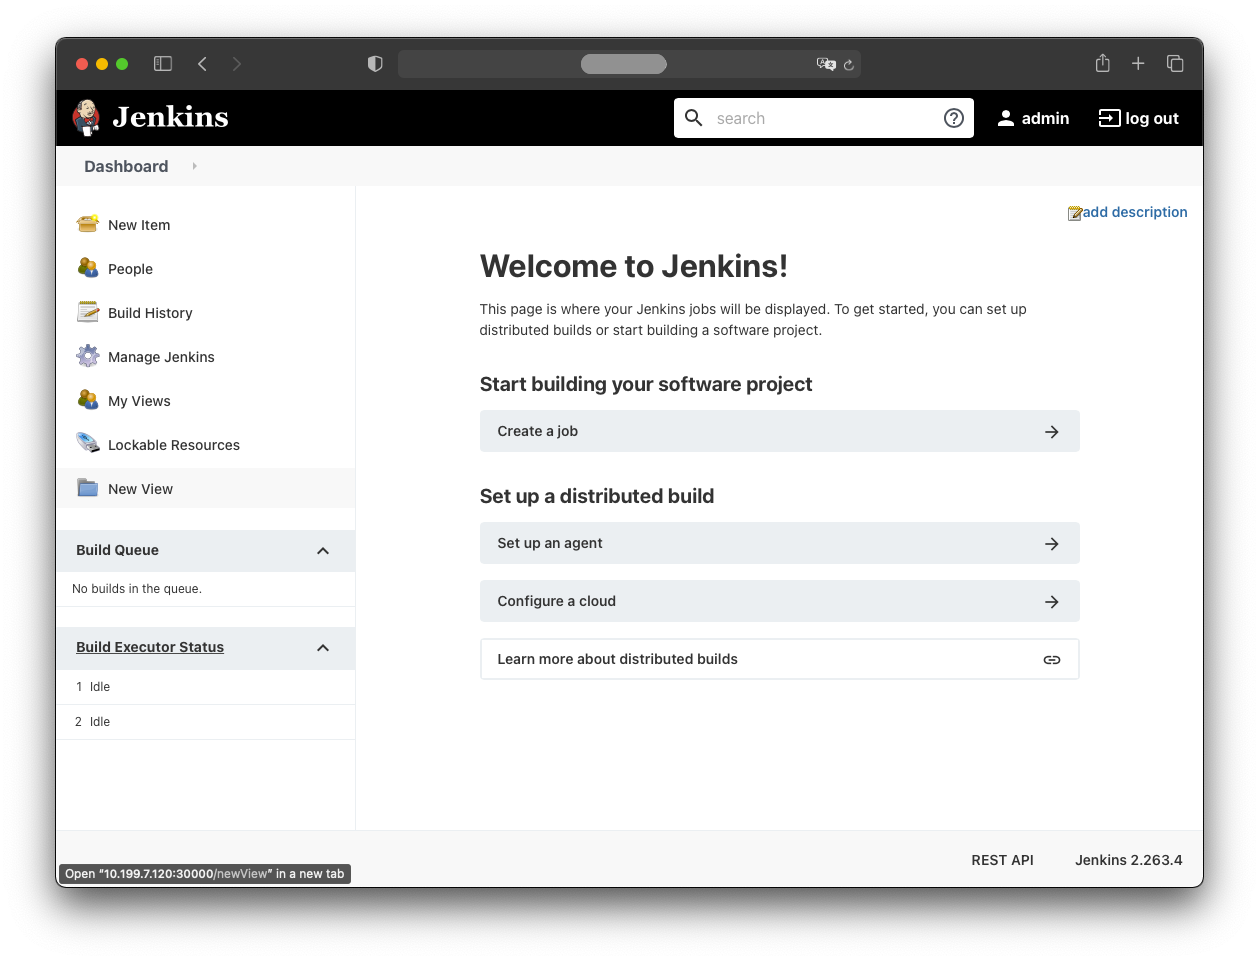
Jenkins provides the complete Jenkins URL.
Note that this is not the secure route for production use; for a permanent Jenkins instance, the admin password should be changed as soon as possible.
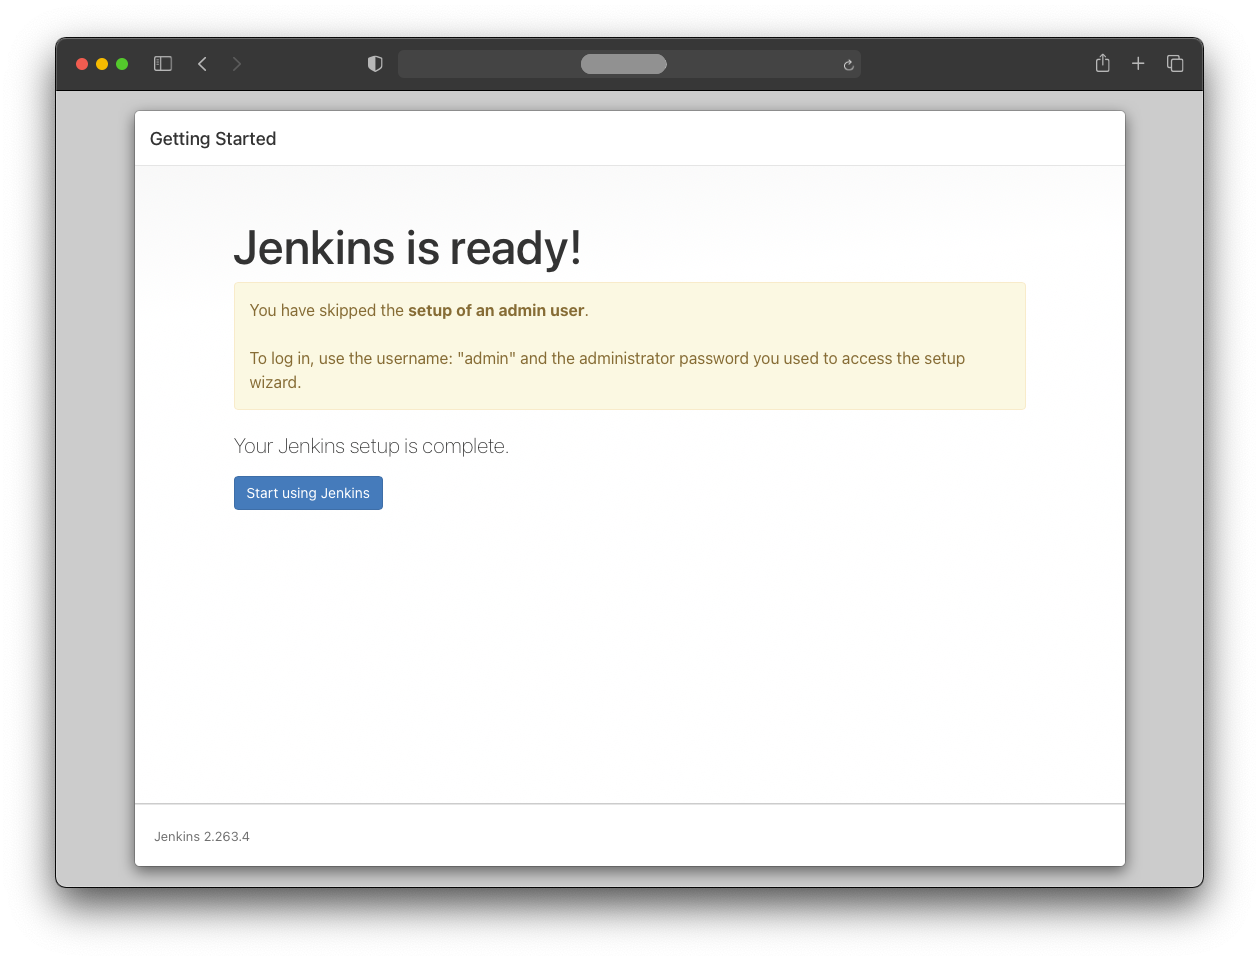
After pressing “Start using Jenkins”, the initial configuration is finished.
Final note
If you need to restart everything from scratch, delete the namespace:
kubectl delete all --all -n jenkins