In my last post “The Puppet Show”, I wrote that I put all my code into a repository over at GitHub. This is a short write-up of how I did that.
Thanks to the book “Ruby on Rails 3 Tutorial” by Michael Hartl, I received a very nice introduction to Git. Those were my first steps with Git, and the author did an excellent job making those steps as easy as possible.
We need to do a one-time setup first. This has to be done on every new machine where you want to use Git.
git config --global user.name "Your Name"
git config --global user.email youremail@example.com
Then go into your project directory with all the files you want to have under version control.
git init

Now add all your files with
git add.
If you run
git status
you will see all staged files that are ready to be committed. If you want to keep all the changes, then commit them with
git commit -m "My initial commit"
To see all your past changes, run
git log
Still, everything is on your hard disk only, but you want to share your code with other people, right?
Time to create your account over at GitHub.
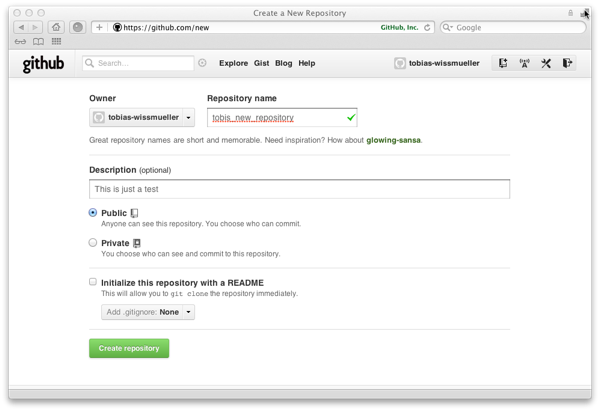
After doing this and creating a new repository, you will see a screen that tells you everything you need to know from there on. At least for the beginning.

So, let’s push everything to the repository.
git remote add origin git@github.com:<your-username>/<name-of-your-repository>.git
git push -u origin master
Point your browser to your repository at GitHub and have a look.
Done for today!