We have built ourselves a virtual machine that we can reuse for different purposes by duplicating it. But I am lazy, and it doesn’t feel right when I want to build up my virtual infrastructure. I can only build it up once and have to go with it. I want to be more dynamic: creating and destroying my infrastructure as often as I want, with a push of a button.
Gladly, there are some clever people over at Vagrant. They provide automation software for virtual machines. And you know what? We are going to check that out in this post.
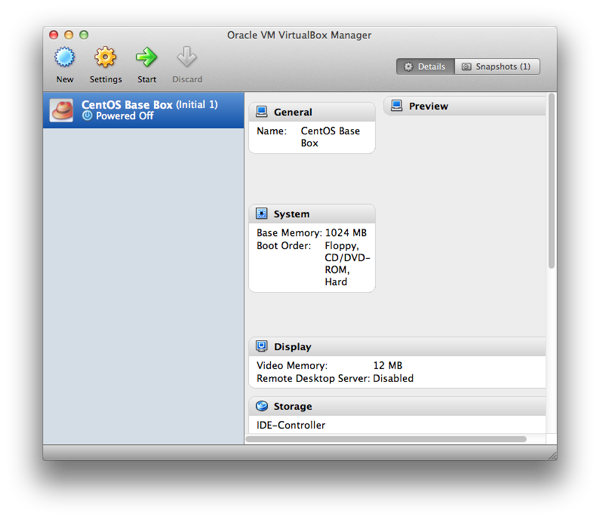
So, let’s use our virtual machine that we created in “Installing CentOS 6.2 with VirtualBox”.
We need a so-called “base box.” The following steps will mostly repeat what has been provided in this HowTo, but I will present them here with my box-specific adaptations, if there are any. That, I don’t know yet.
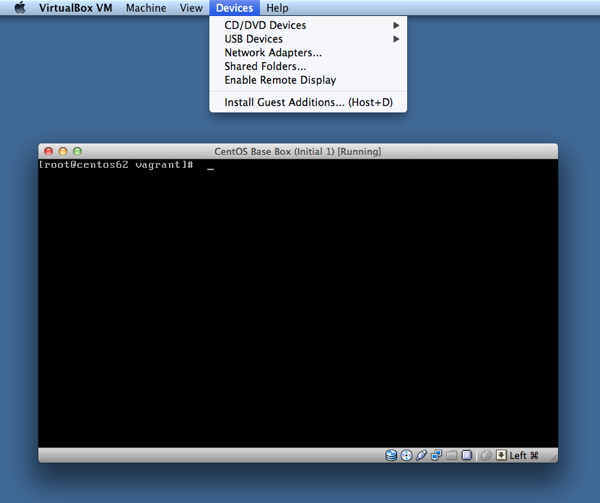
Okay, let’s start VirtualBox with our minimal CentOS image.
Preconfiguration
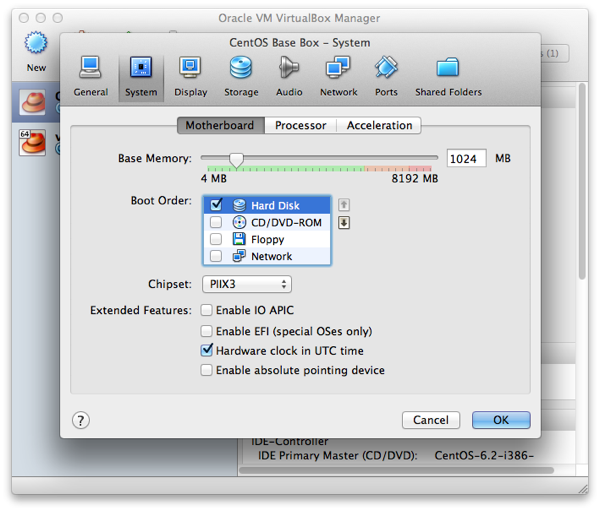
A few modifications have to be done in order to be able to create our base box.
First, I have deactivated the floppy and CD drive. We surely won’t need them in the future.
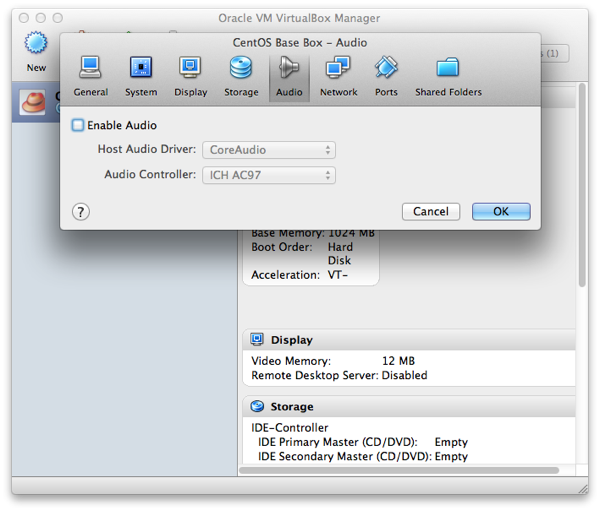
I have also disabled audio.
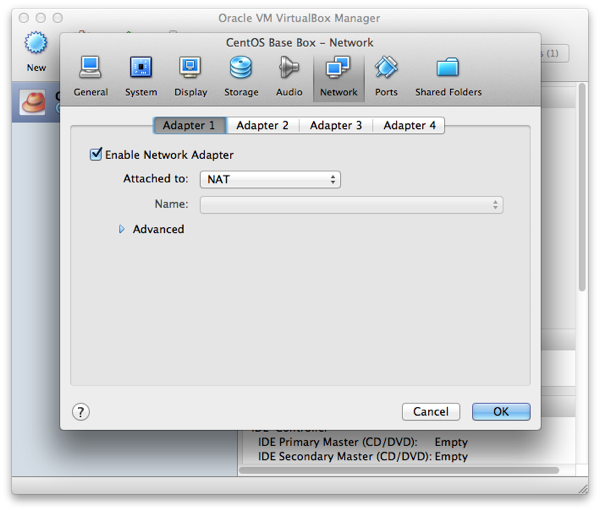
Remember: network is set to NAT!
User and Rights Management
When logged in as root, I have changed his password with
passwd
I have also created the user vagrant and set his password to vagrant
useradd vagrant
passwd vagrant
Now, we need to make sure that the main user vagrant has password-less sudo privileges. Start up your machine, log in as vagrant, and then type
su
yum -y install sudo
Next, we need to edit the file /etc/sudoers. Since we don’t have a decent text editor, get one with
yum -y install vim
Now type
vim /etc/sudoers
STOP! Don’t edit it this way. There is a special command for editing this file—just type
visudo
Add the following line
%admin ALL=NOPASSWD: ALL
By the way, keep vim; we’ll need it later, that’s for sure.
Now, we create a new group called admin and add the user vagrant to it.
groupadd admin
usermod -a -G admin vagrant
Test what you did by typing
sudo which sudo
The output should be /usr/bin/sudo.
The documentation on the Vagrant site says that you need to restart sudo by typing /etc/init.d/sudo restart. Didn’t work for me … said “No such file or directory.” But it works anyway. Computers are strange, they are. You know what went wrong here?
VirtualBox Guest Additions
Installing the VirtualBox guest additions is next. I have written about that in a former blog post when installing a desktop environment on our minimal CentOS installation. Here are the steps:
yum update kernel
yum install gcc
yum install kernel-devel
yum install make
export MAKE='/usr/bin/gmake -i'
mkdir /media/VirtualBoxGuestAdditions
mount -r /dev/cdrom /media/VirtualBoxGuestAdditions
sh /media/VirtualBoxGuestAdditions/VBoxLinuxAdditions.run
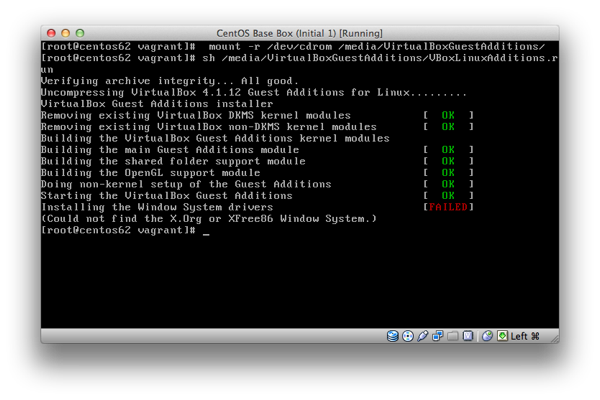
You can safely ignore the failed installation of the Windows system drivers since we won’t need them. Done with the guest additions.
Getting some more Software
Let’s get some more software that we need later on.
We start with Ruby and RubyGems
yum install ruby
yum install rubygems
Yes, documentation is good. Let’s get the main source of information:
yum install man
Additionally we need Puppet. More about why we need it will follow in an upcoming blog post. Installation with one command is not sufficient this time. We need to tell yum where to find it.
I basically followed this howto.
vim /etc/yum.repos.d/puppet.repo
And add the following:
[puppetlabs]
name=Puppet Labs Packages
baseurl=http://yum.puppetlabs.com/el/$releasever/products/$basearch/
enabled=1
gpgcheck=1
gpgkey=http://yum.puppetlabs.com/RPM-GPG-KEY-puppetlabs
Then we need the EPEL x86_64 yum repository:
rpm -Uvh http://download.fedoraproject.org/pub/epel/6/x86_64/epel-release-6-5.noarch.rpm
Install the puppet master packages and then the puppet client packages:
yum install puppet-server
Just answer every question with “yes” to install everything.
SSH-Key Based Authentication
Next we prepare everything for automatic ssh-key-based authentication.
cd
mkdir.ssh
chmod 700.ssh
touch.ssh/authorized_keys
chmod 600.ssh/authorized_keys
Now get the vagrant ssh keys. Put the private key (renamed to id_rsa.vagrant) on your host system and the public key into your guest VM.
Get the keys from here.
Plus, set UseDNS to no in /etc/ssh/sshd_config to increase ssh performance on your host system.
You can copy the ssh-key by mounting the shared folder
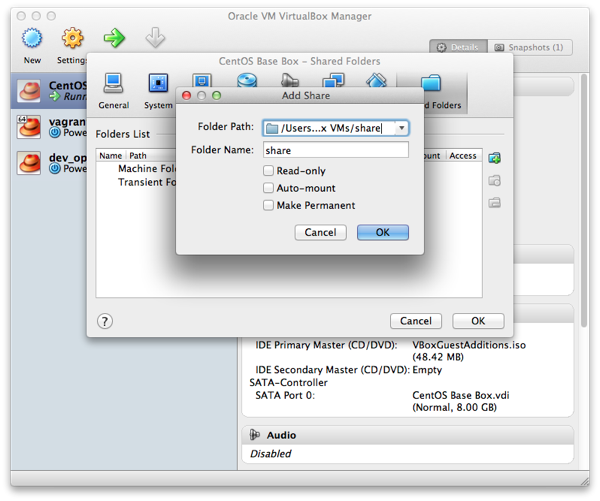
On your host OS, copy the public key into the shared folder.
Then, in my virtual machine, I have mounted that share with
sudo mount -t vboxsf share /mnt
Then add it to your file with the public keys
cat /mnt/vagrant.pub >> /home/vagrant/.ssh/authorized_keys
Finally, type
visudo
and change the line
defaults requiretty
to
#Defaults requiretty
Packing Up
Let’s package everything up. Shut down your virtual machine and then run the following command in your native shell
vagrant package --base "CentOS Base Box"
Let’s try our little box by creating a vagrant box in another directory:
mkdir test_environment
cd test_environment
vagrant box add my_test_box /<path_to_your_box>/package.box
vagrant init my_test_box
vagrant up
After that command I got the following message (in red!):
SSH authentication failed! This is typically caused by the public/private
keypair for the SSH user not being properly set on the guest VM. Please
verify that the guest VM is setup with the proper public key, and that
the private key path for Vagrant is setup properly as well.
I definitely need to revisit the whole authentication issue.
To log into your box, type
vagrant ssh
Tataaa. I am logged into my Vagrant box.
Let’s destroy the whole thing and create it again when we need it next time.
vagrant destroy
Done for today!